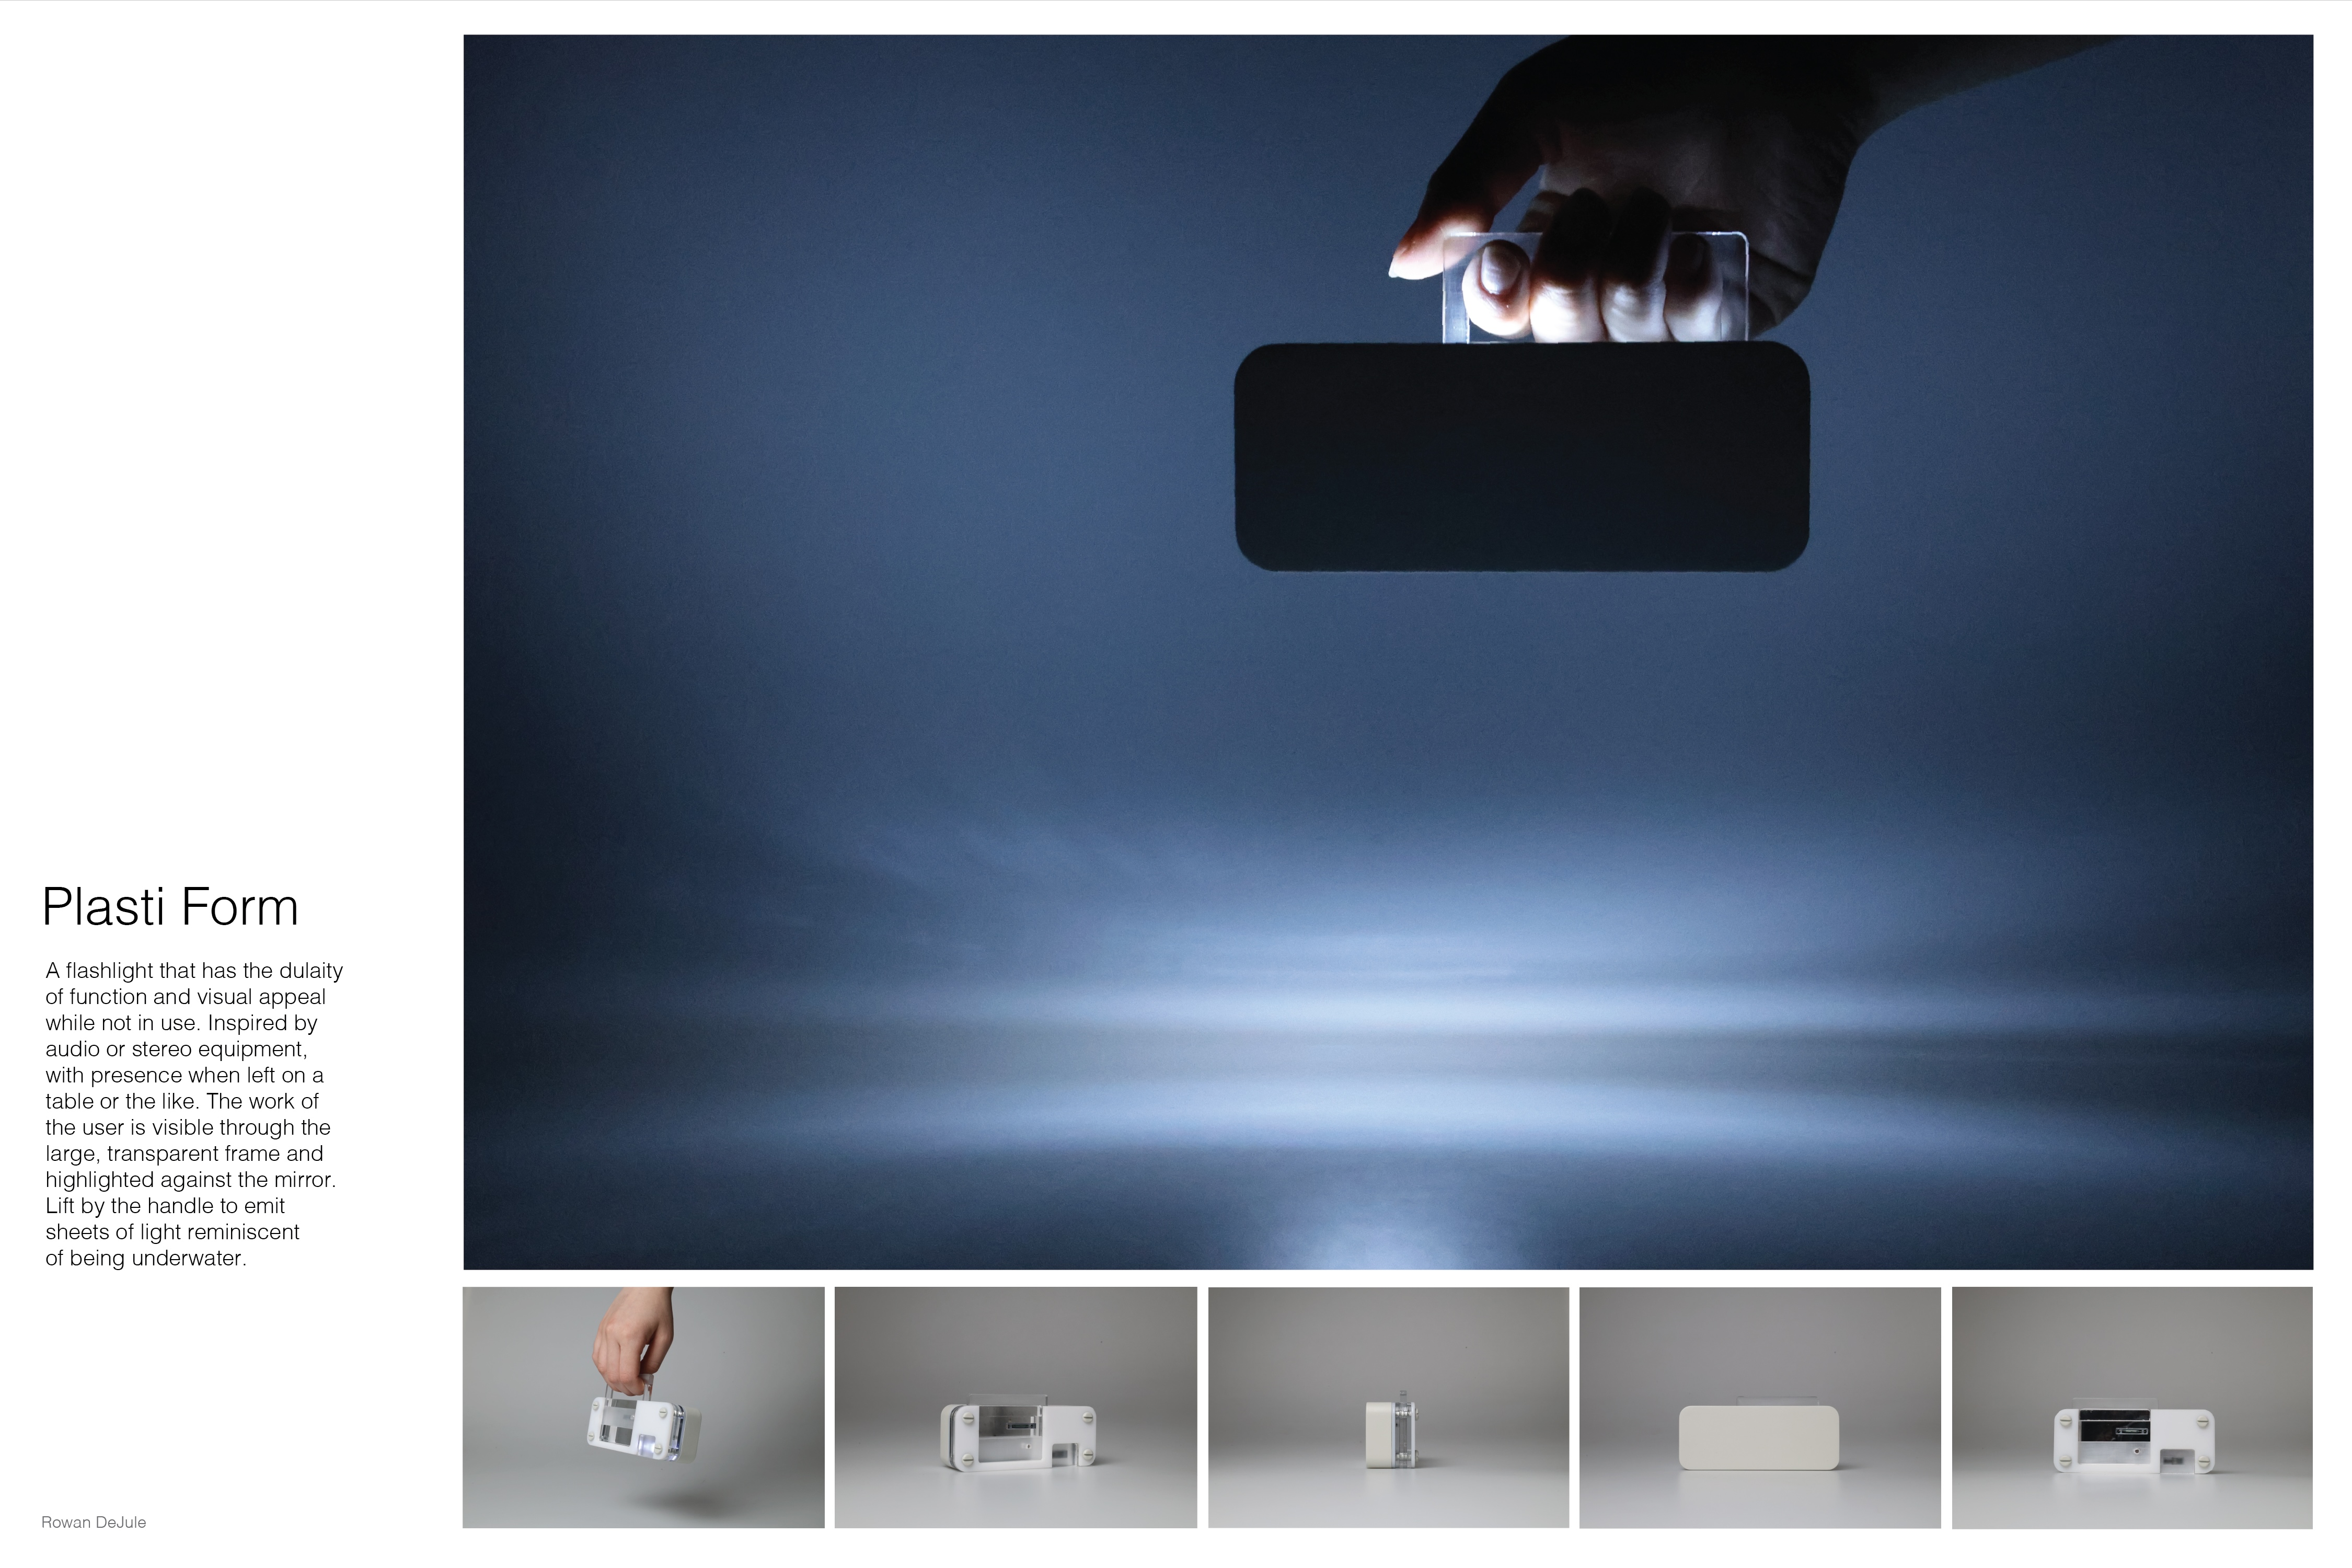
Plasti Form Flashlight
A practice in using 3D printing and laser cutting tools to create a playful flashlight interaction. Refined form through texture, material, and color. 6 layers of carefully arranged acrylic; what to hide, what to show, and what to emphasize.
Spring 2025
Timeline: 2 weeks
Studio Project
Timeline: 2 weeks
Studio Project

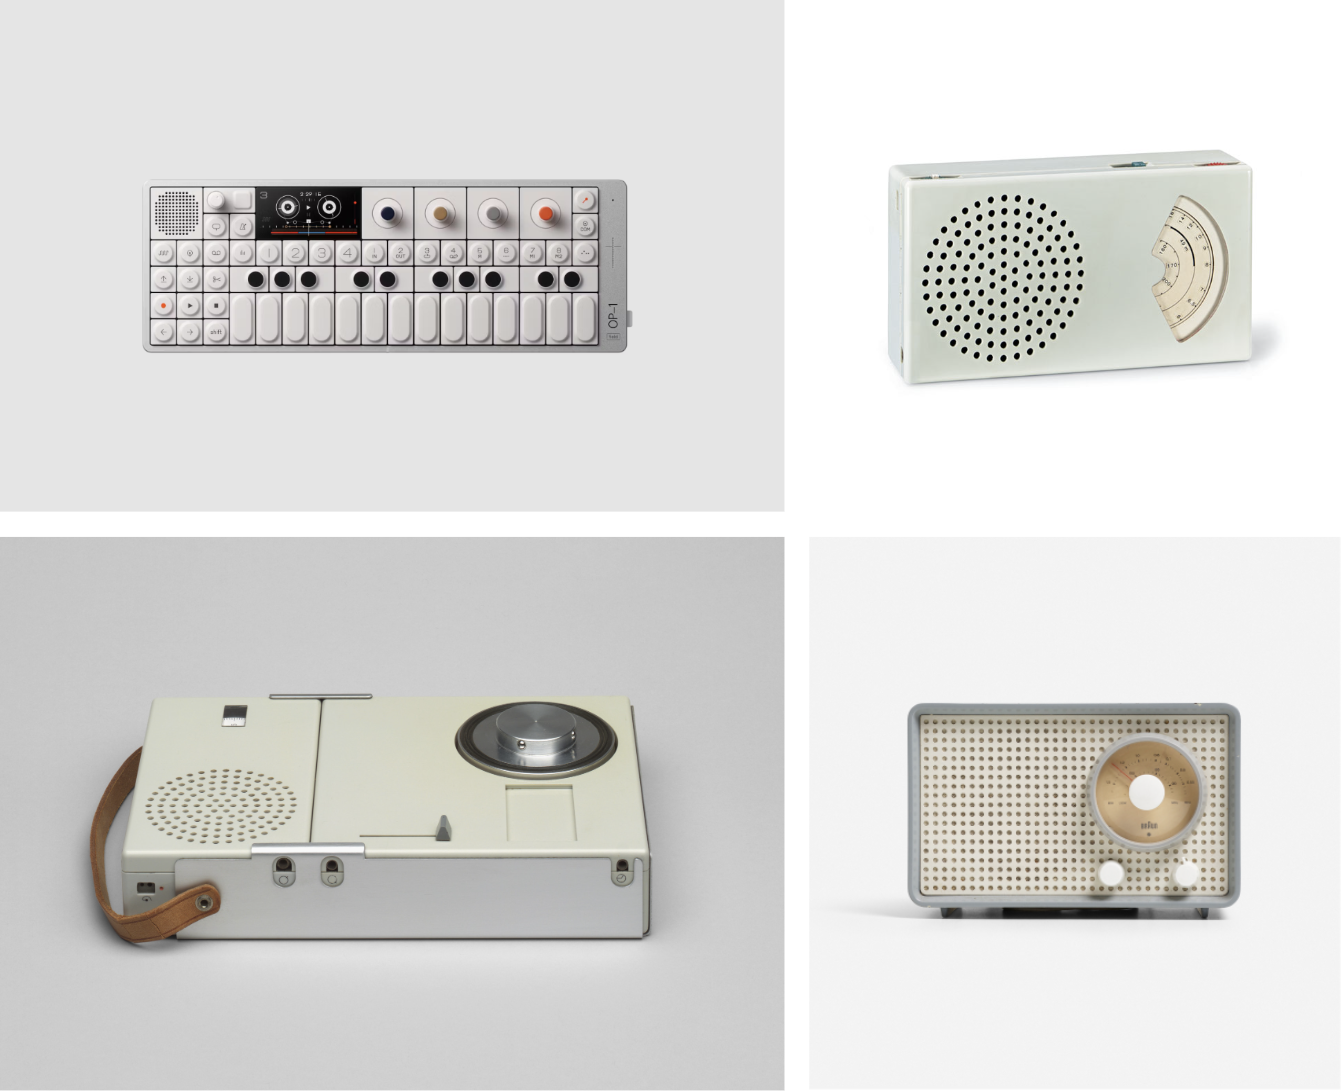
INSPIRATION
Dieter Rams, audio, and stereo equipment
Looking at: color, shape, visual details (lines, circles), proportion, layering
Looking at: color, shape, visual details (lines, circles), proportion, layering
THINKING
Lots of thinking through how the flashlight would turn on/off, its layers, and the 2D graphic element of its face. Compositionally focused with shapes and placement. Frequent reworking of how layers would come together with different types of acrylic (materiality, thicknesses). How to accommodate or use the electrical components.


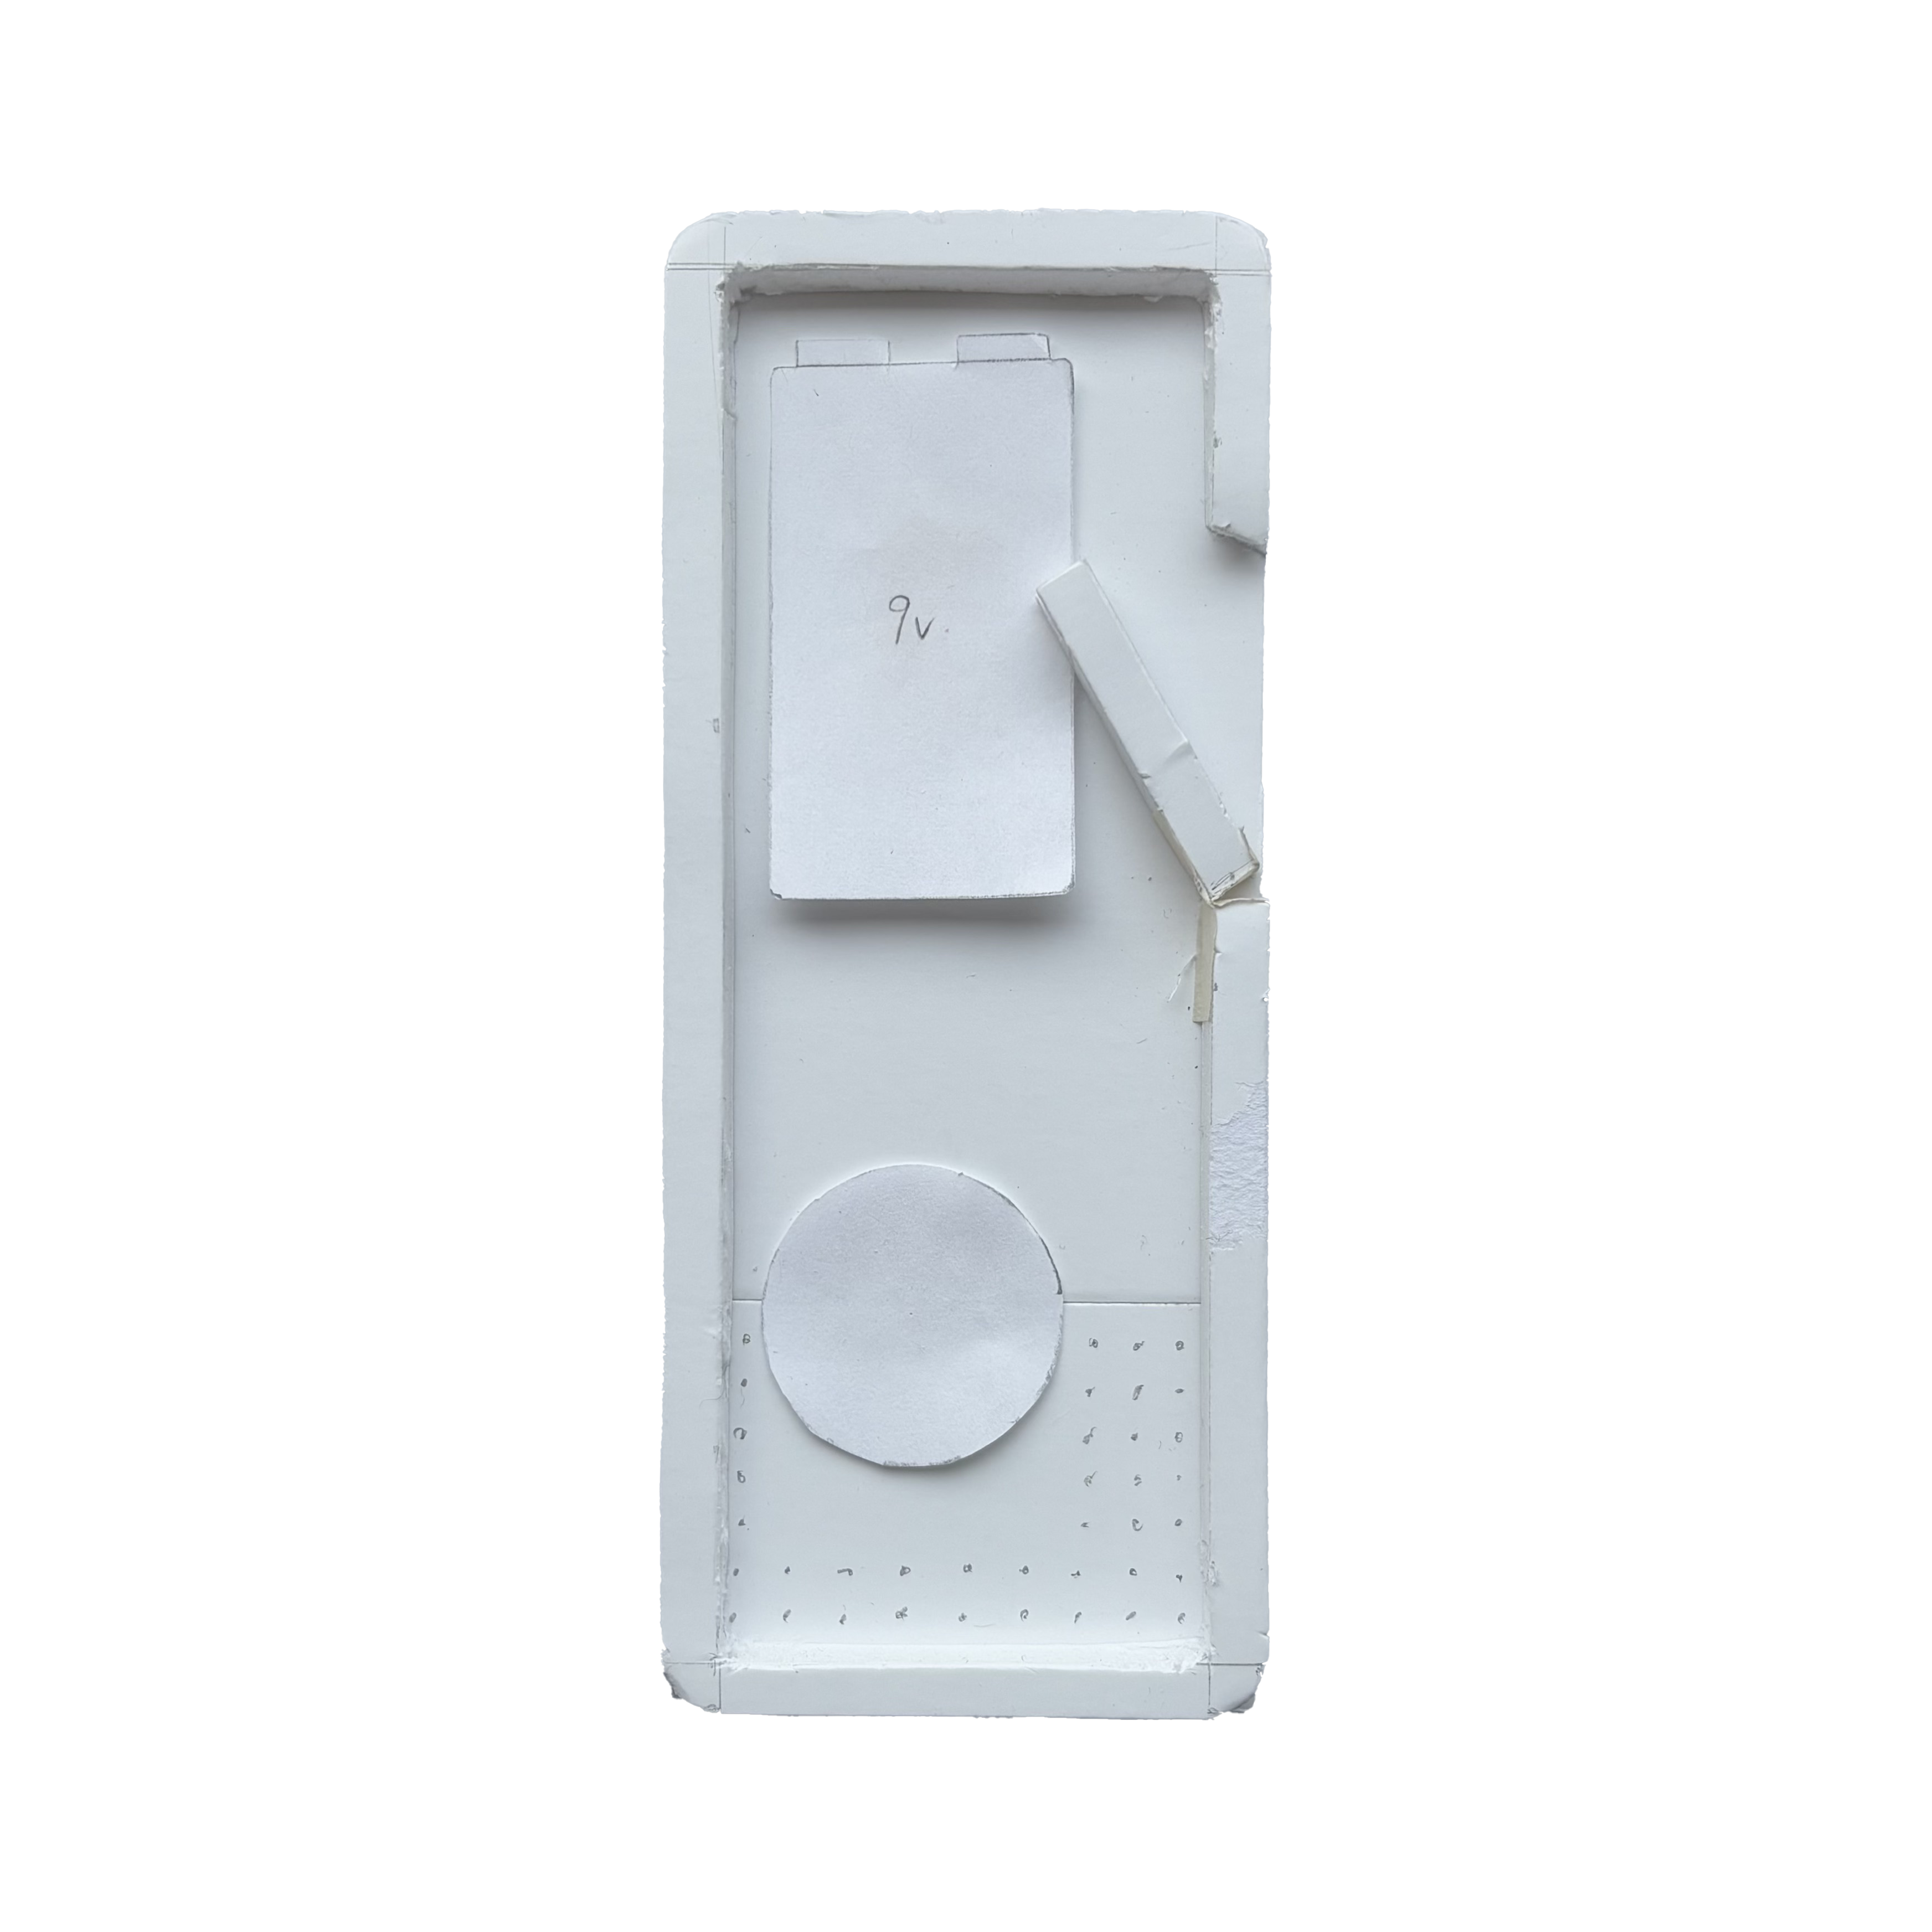
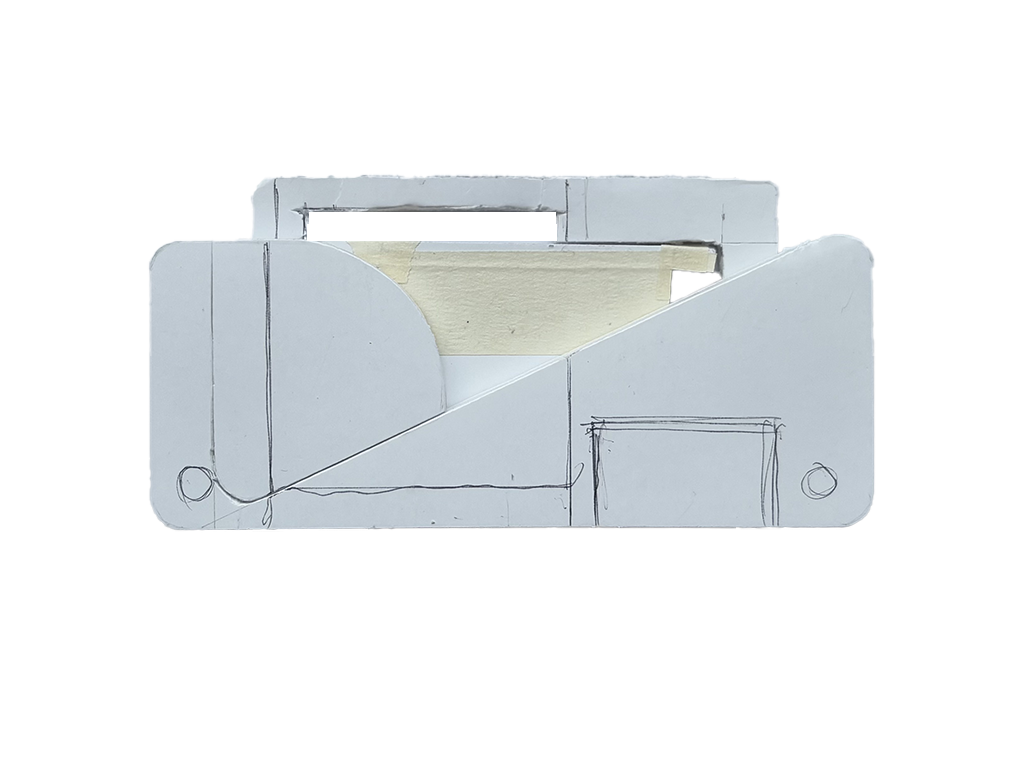
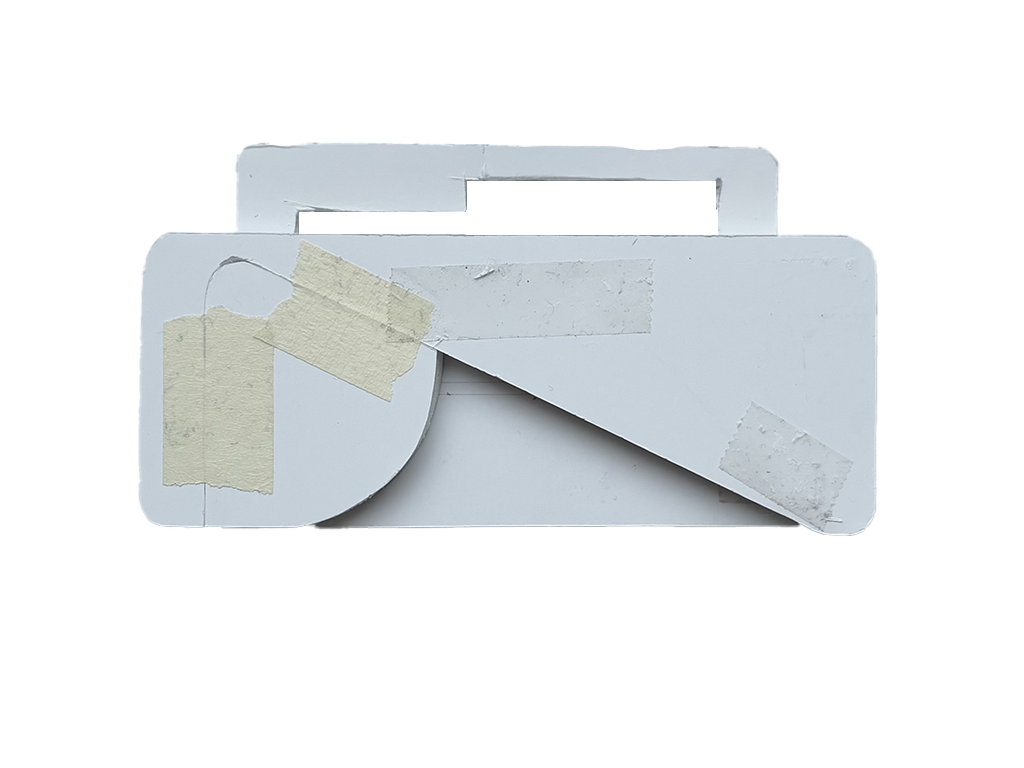
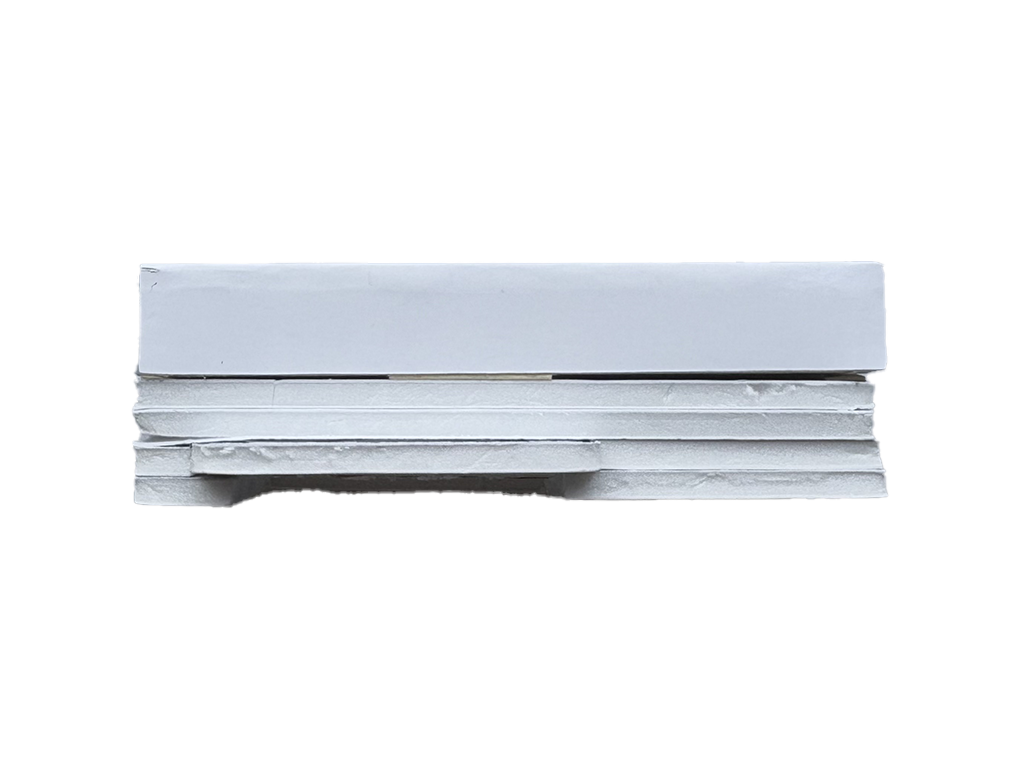
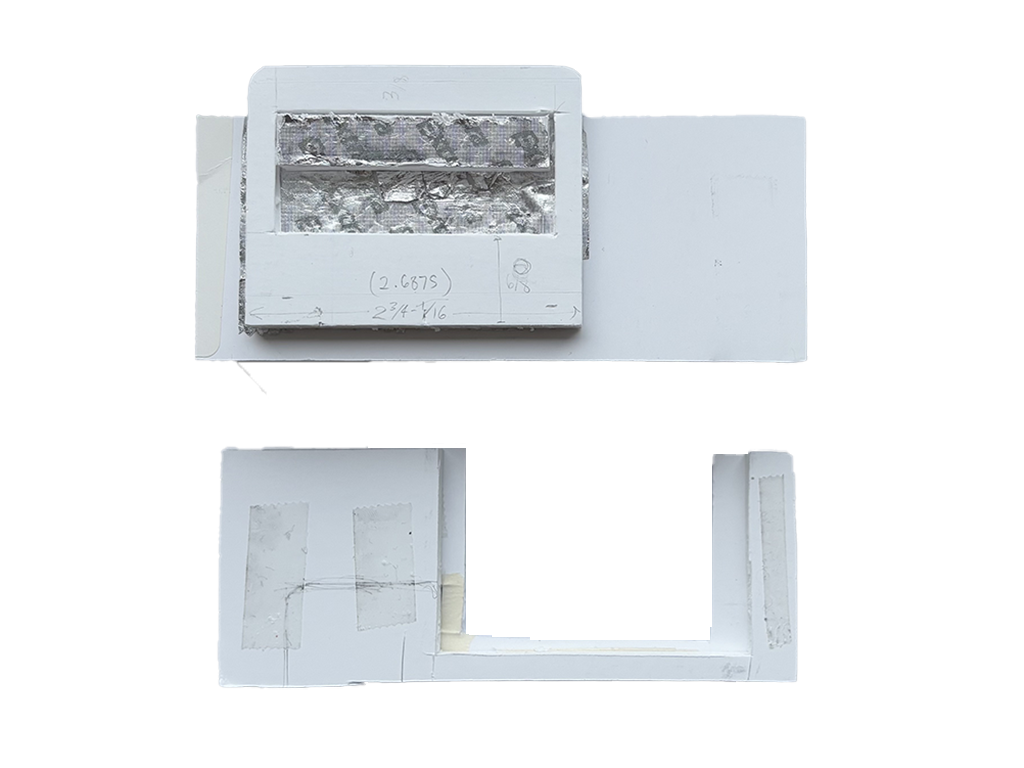
PROTOTYPES
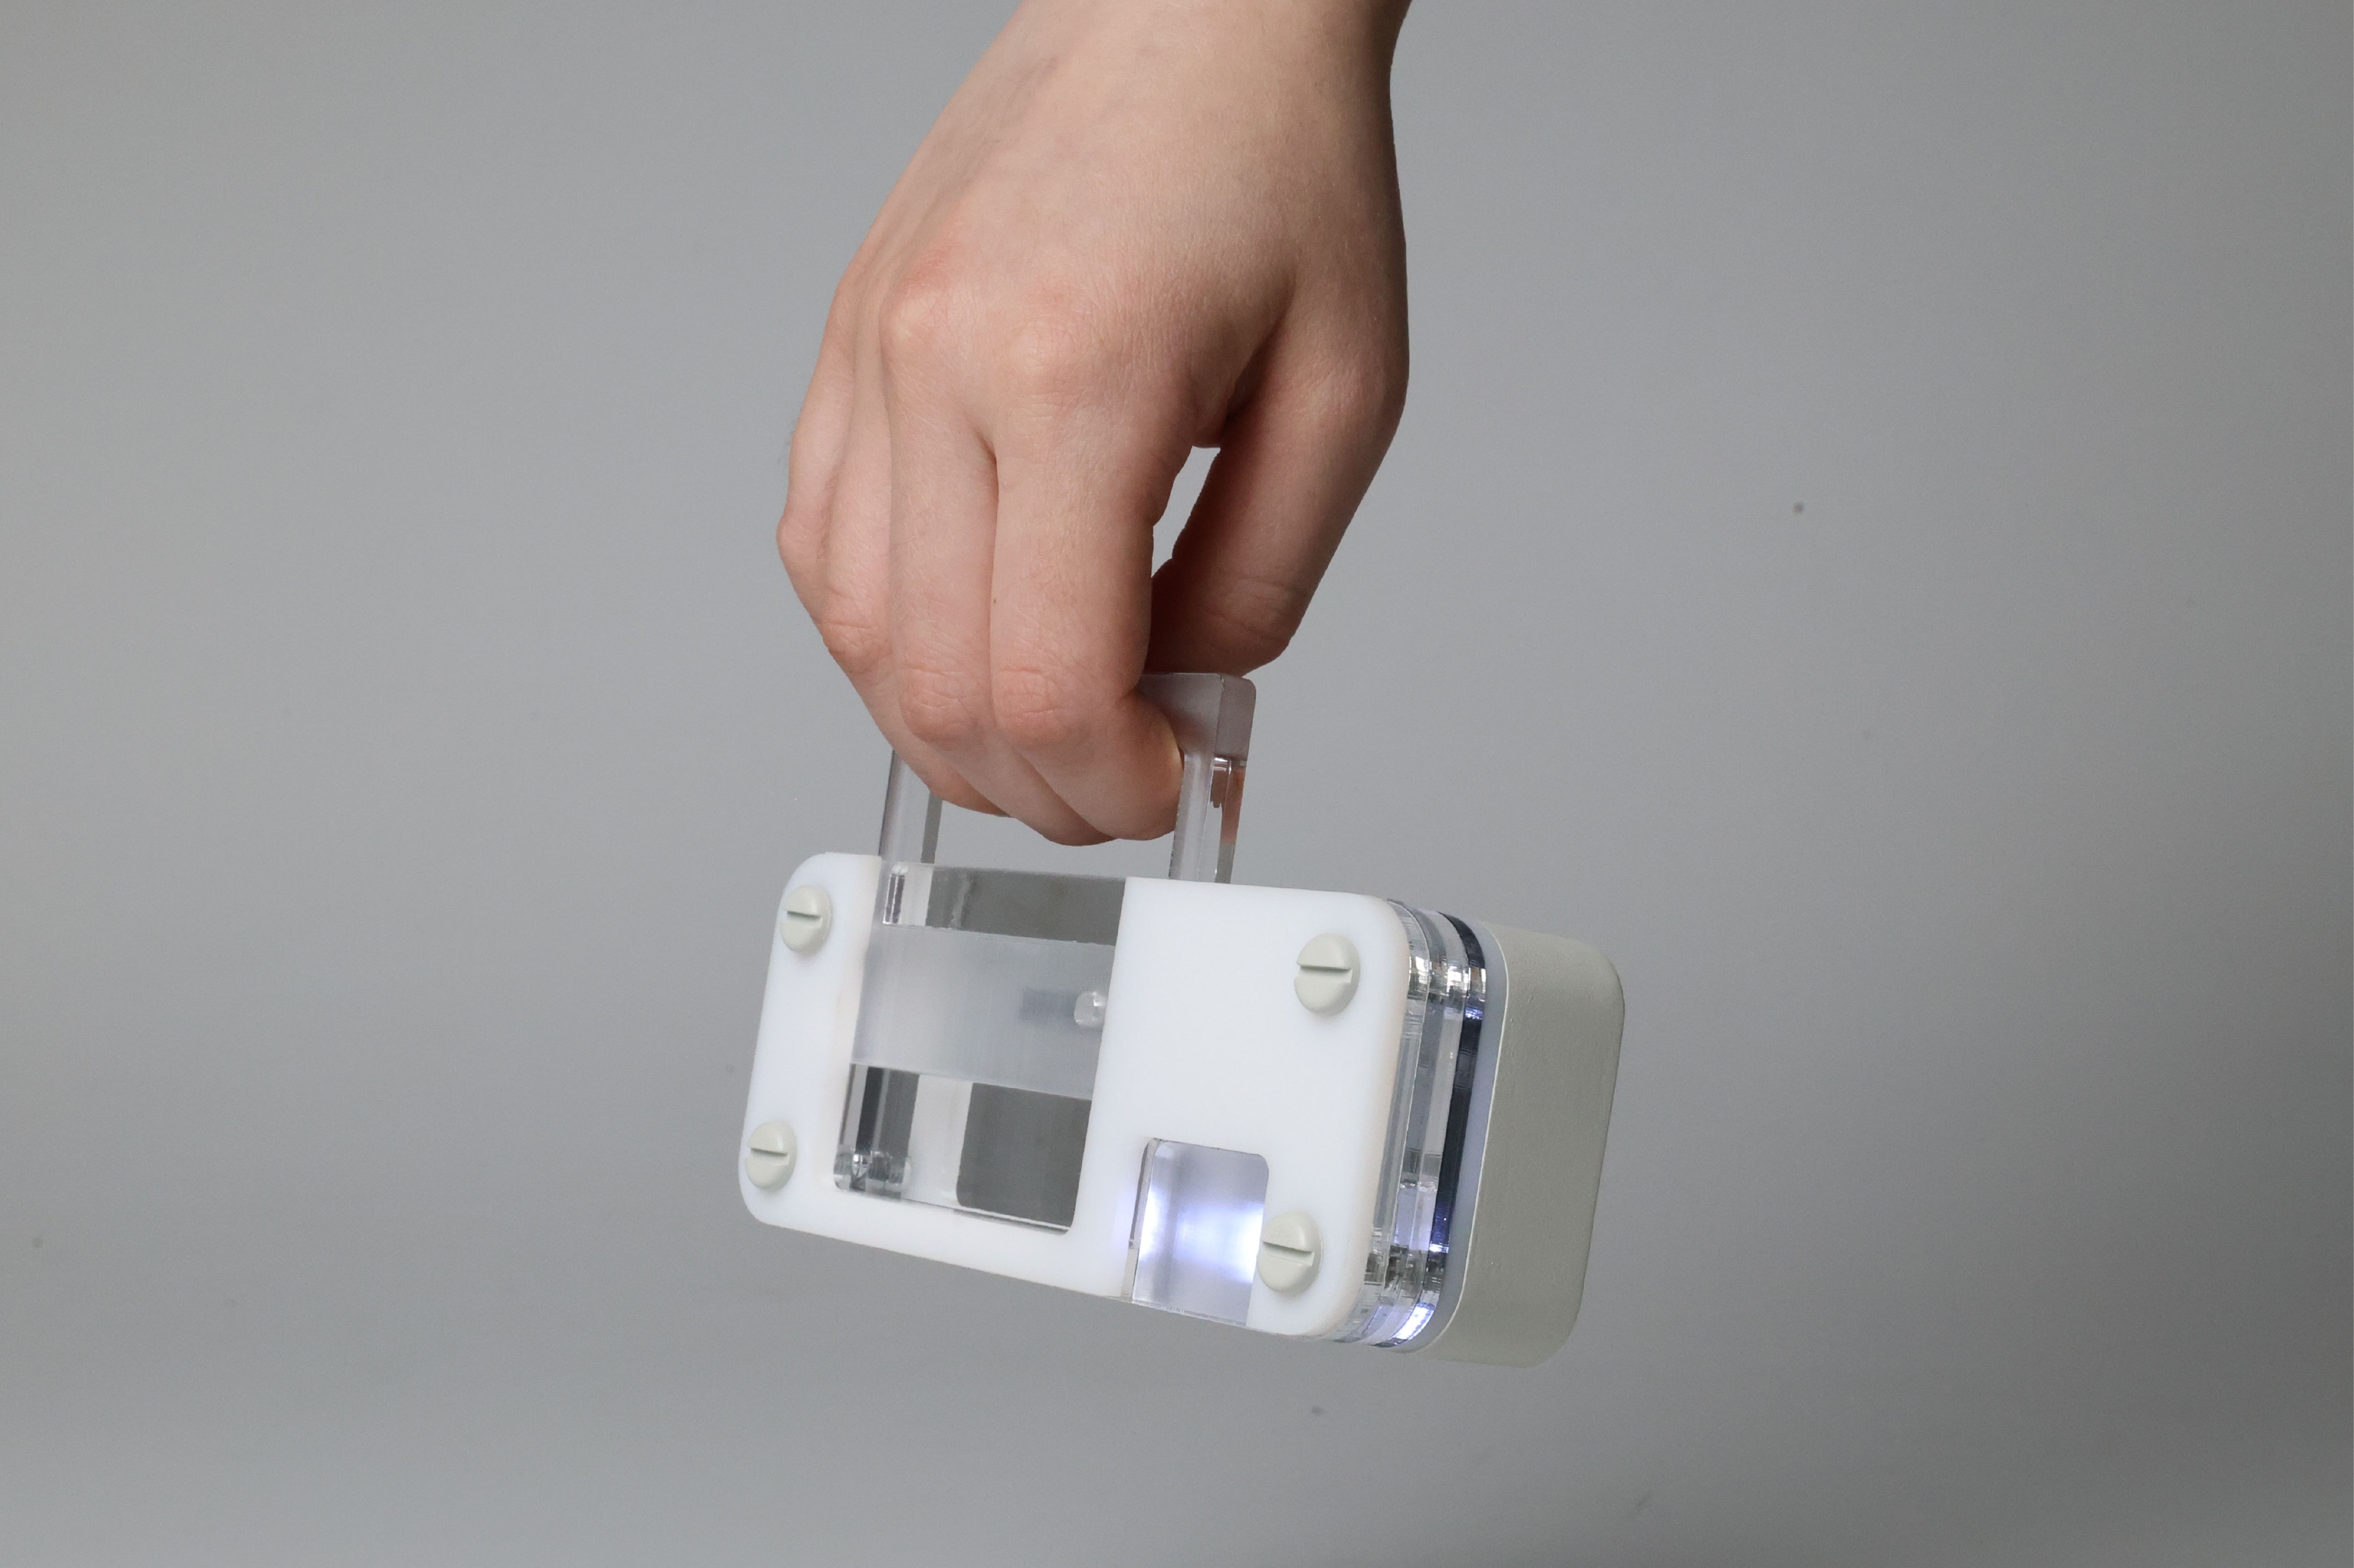
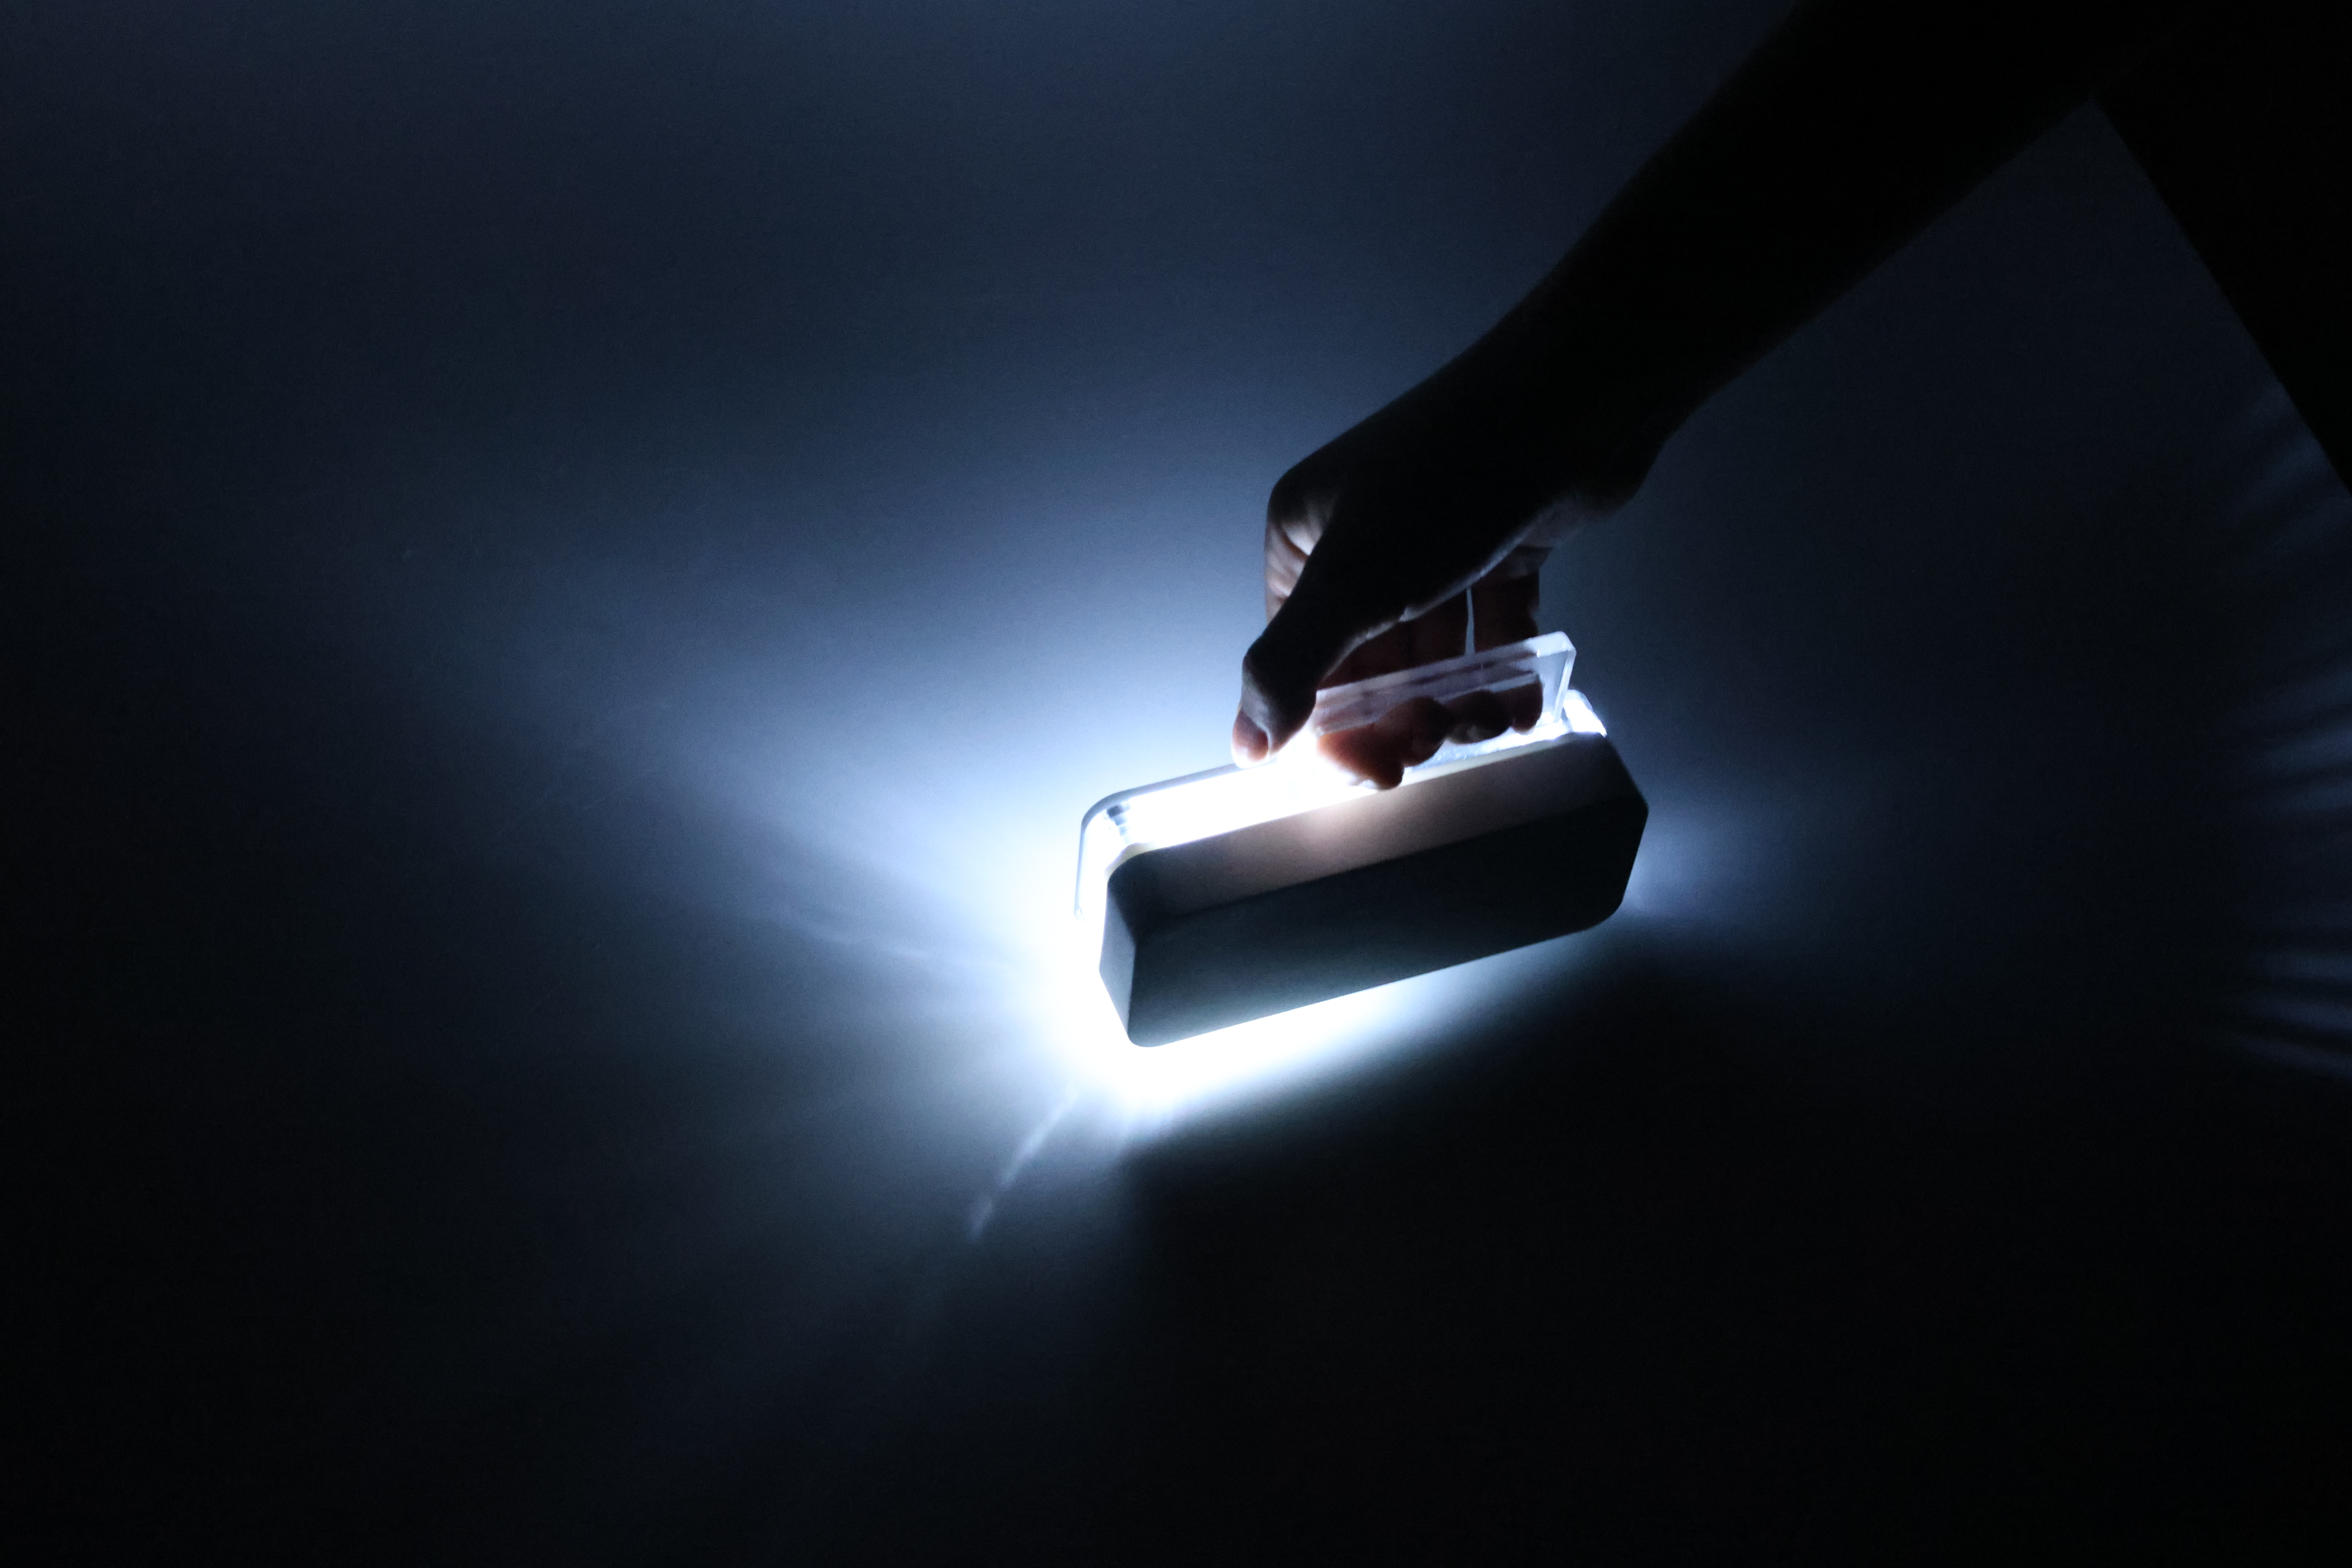
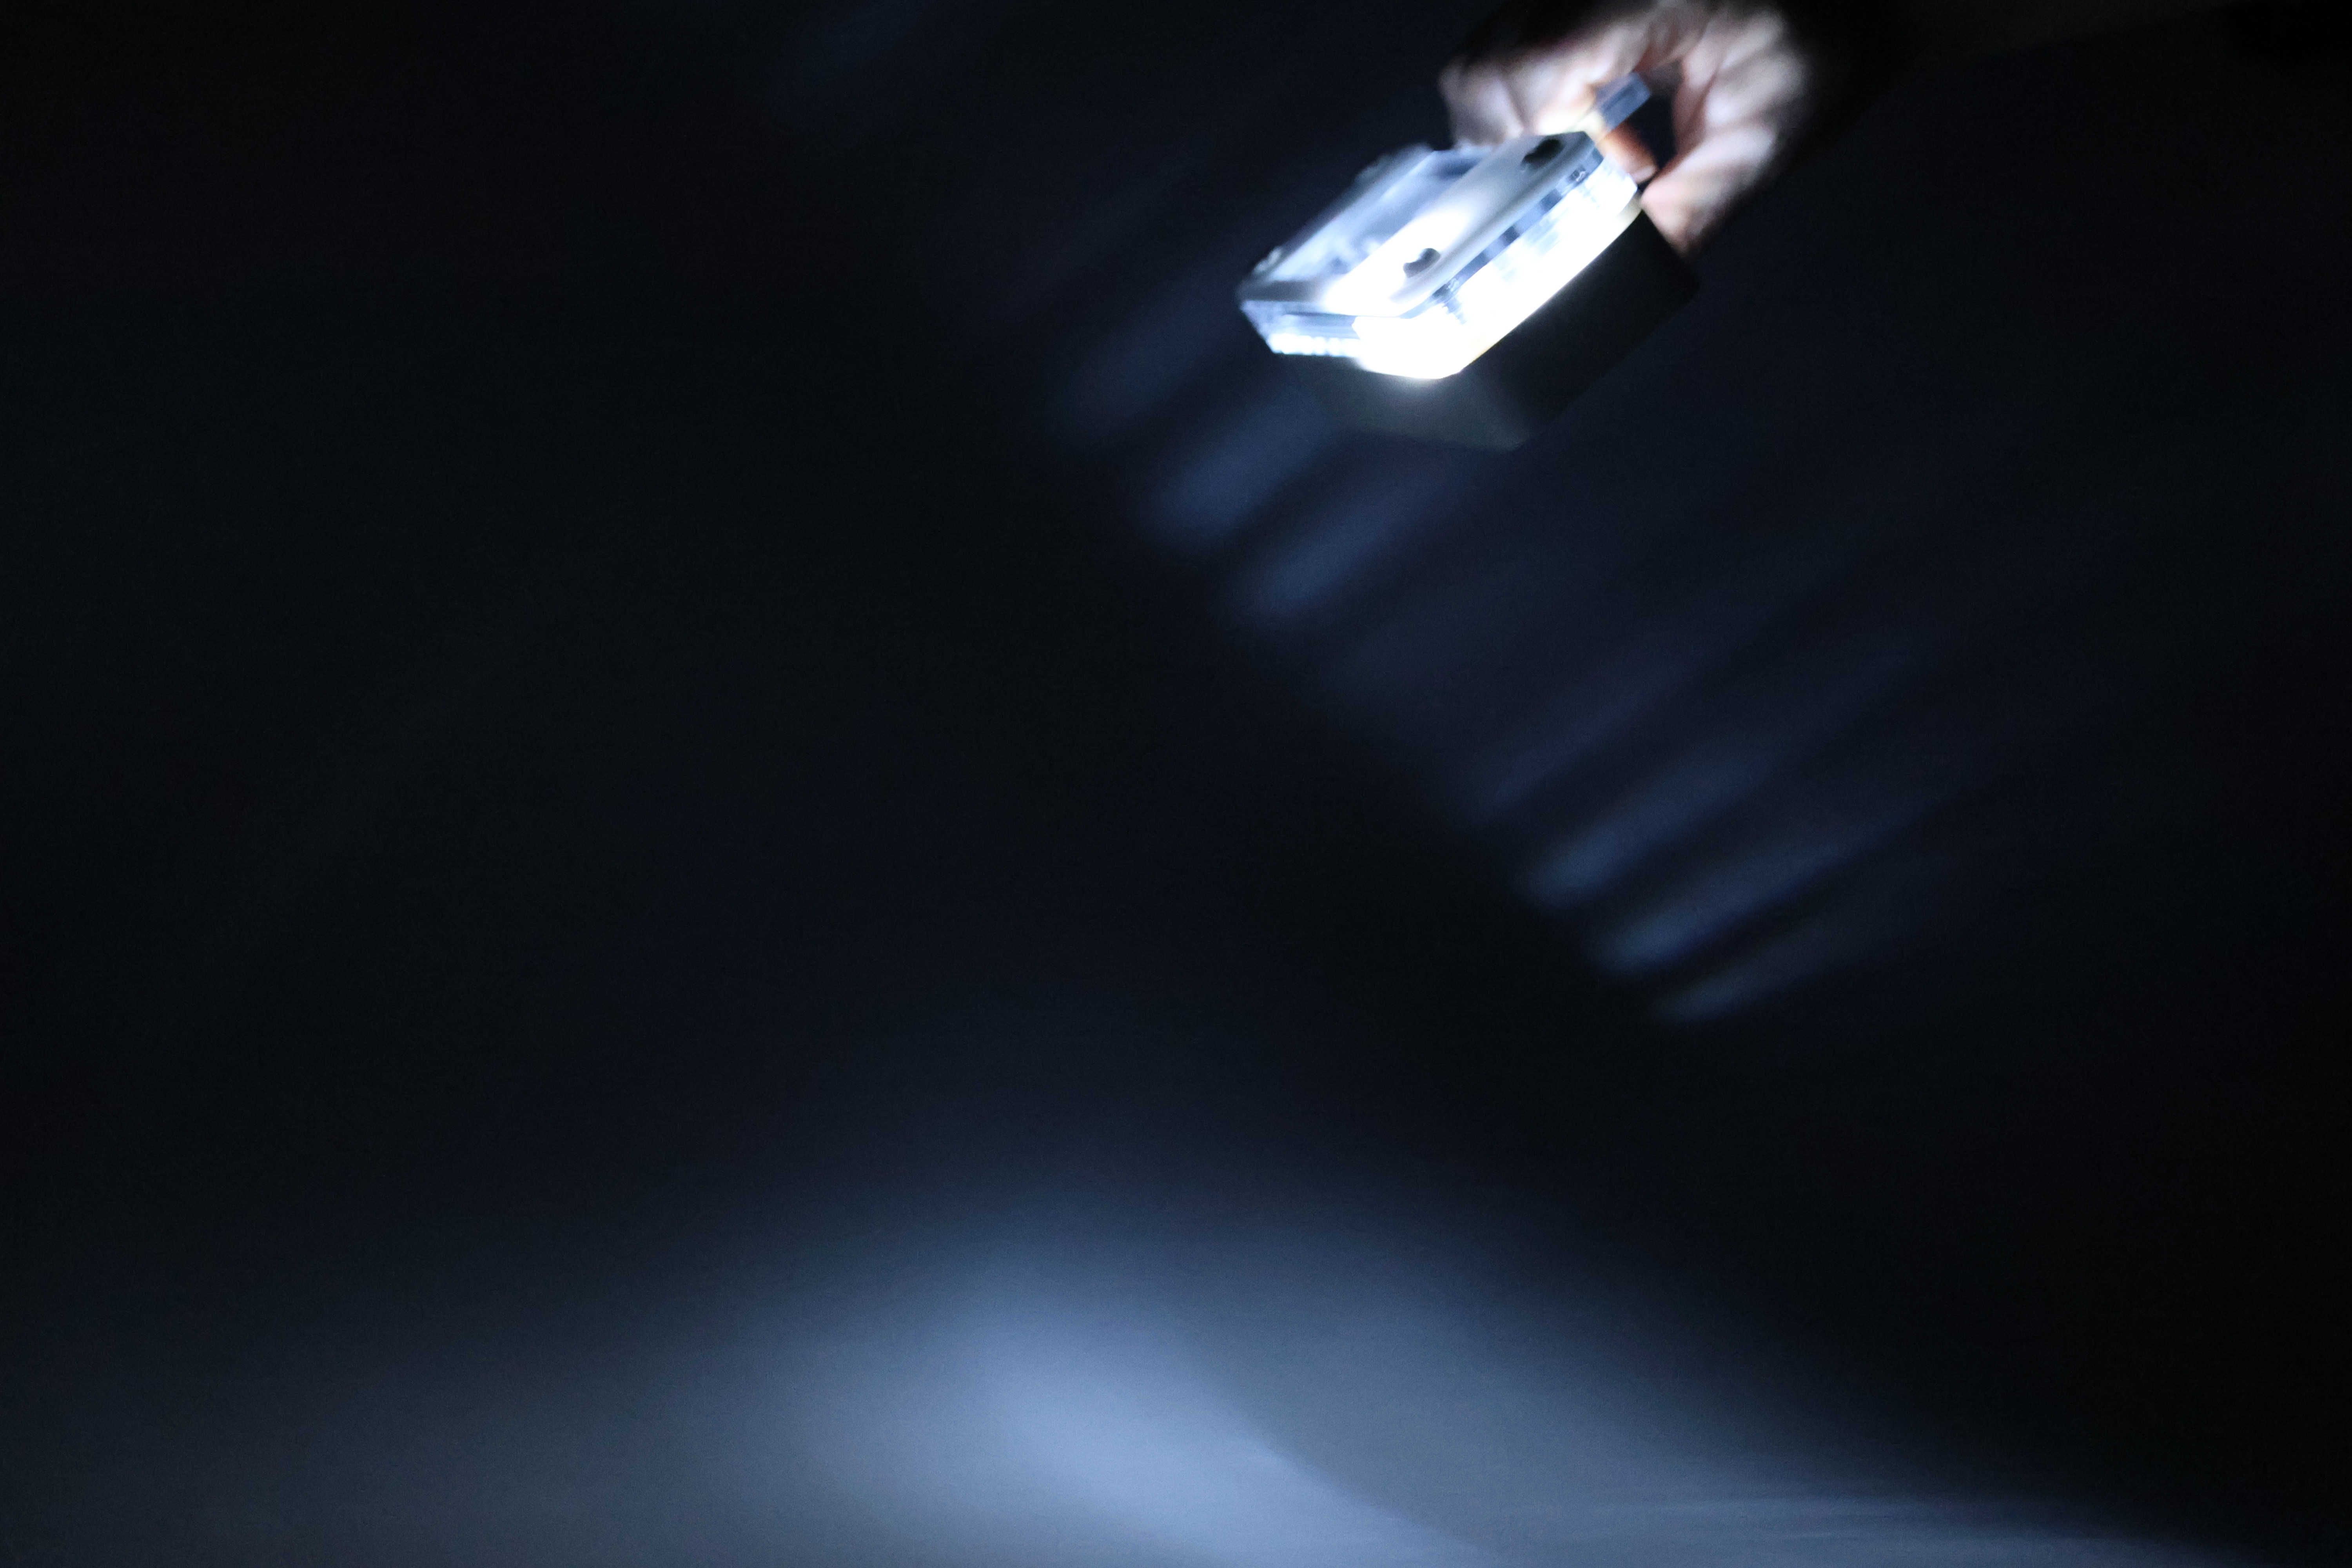
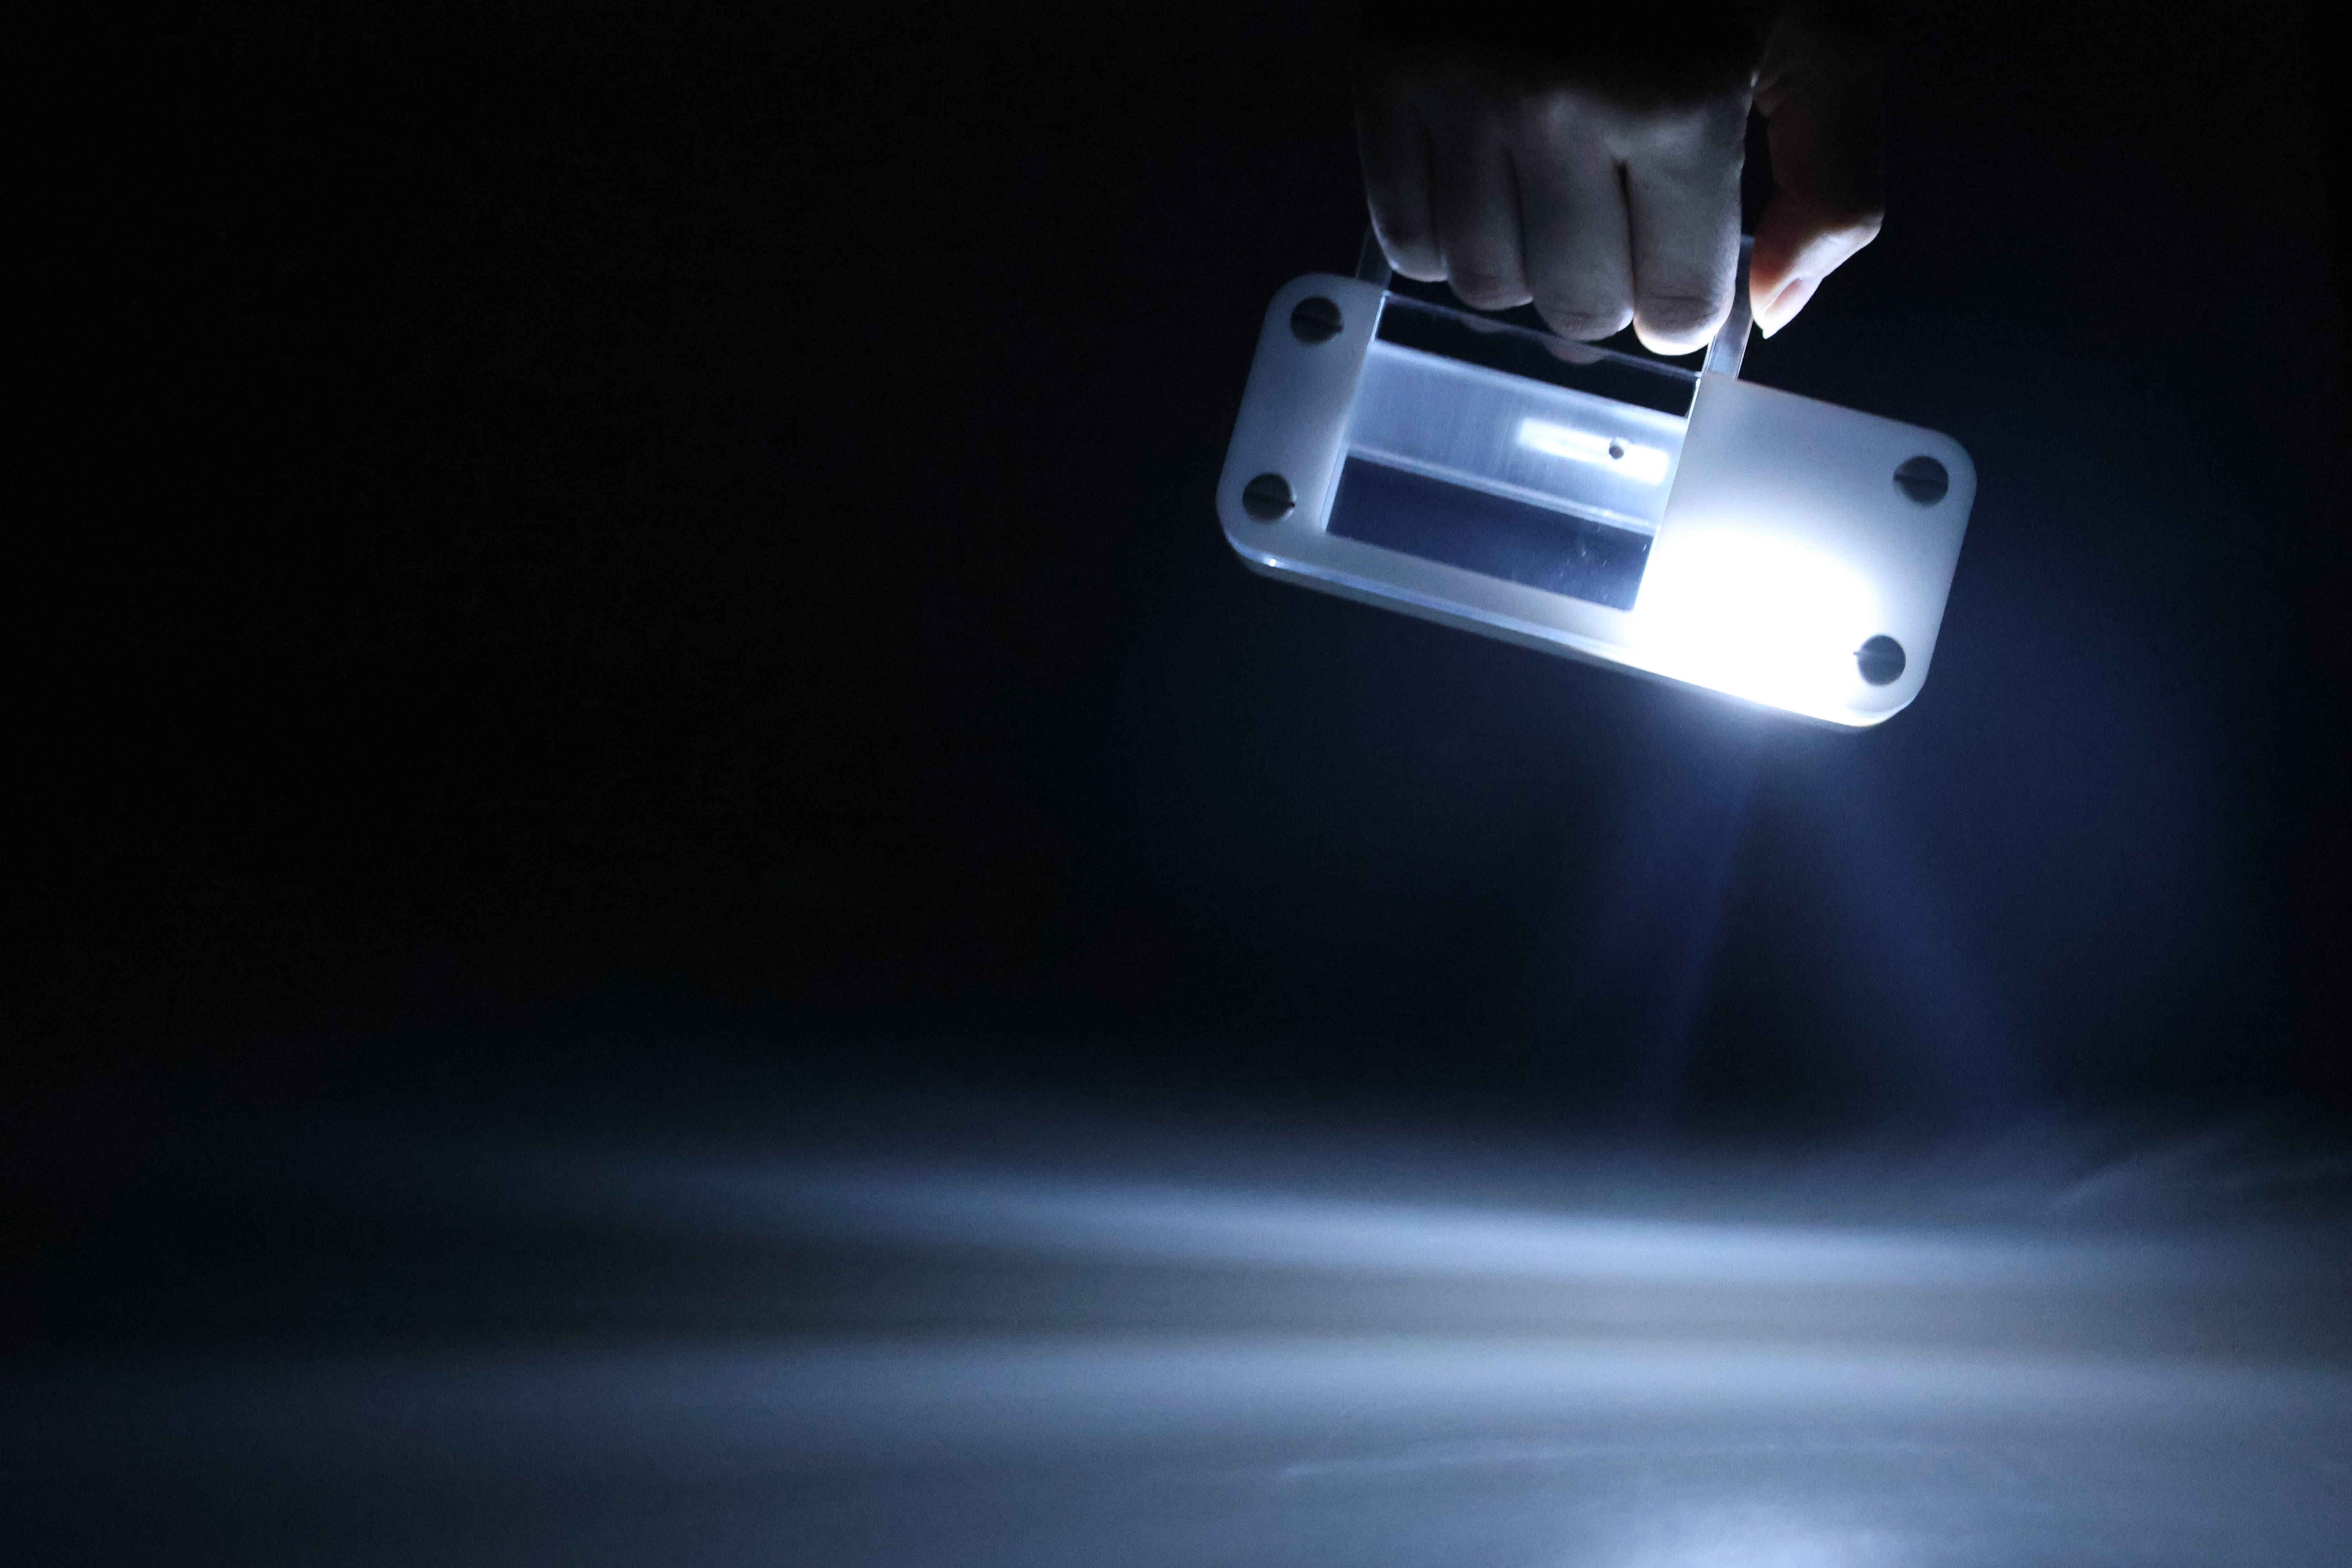
I explored how my sketches would move and feel in real life. After better understanding how the electrical components work and the space they needed, I moved forward with the horizontal orientation with a handle that acts as the switch. The light would stay on when the handle is lifted, and off when not engaged. In my models, I began to observe material placement with a gum wrapper acting as mirrored acrylic :]
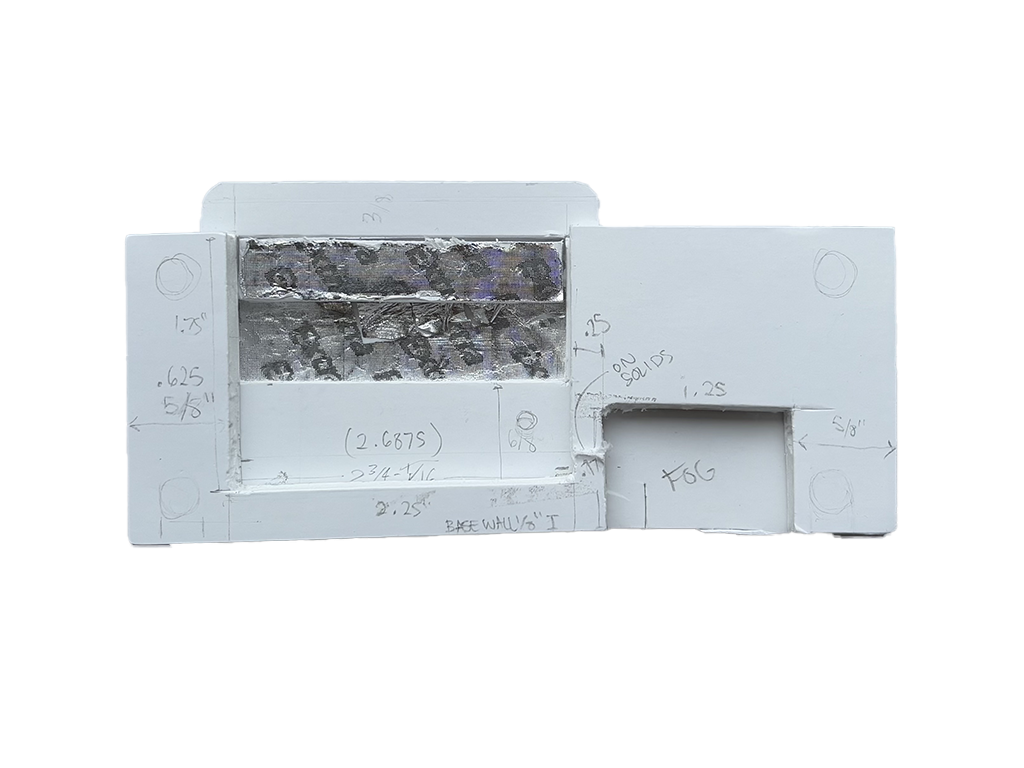
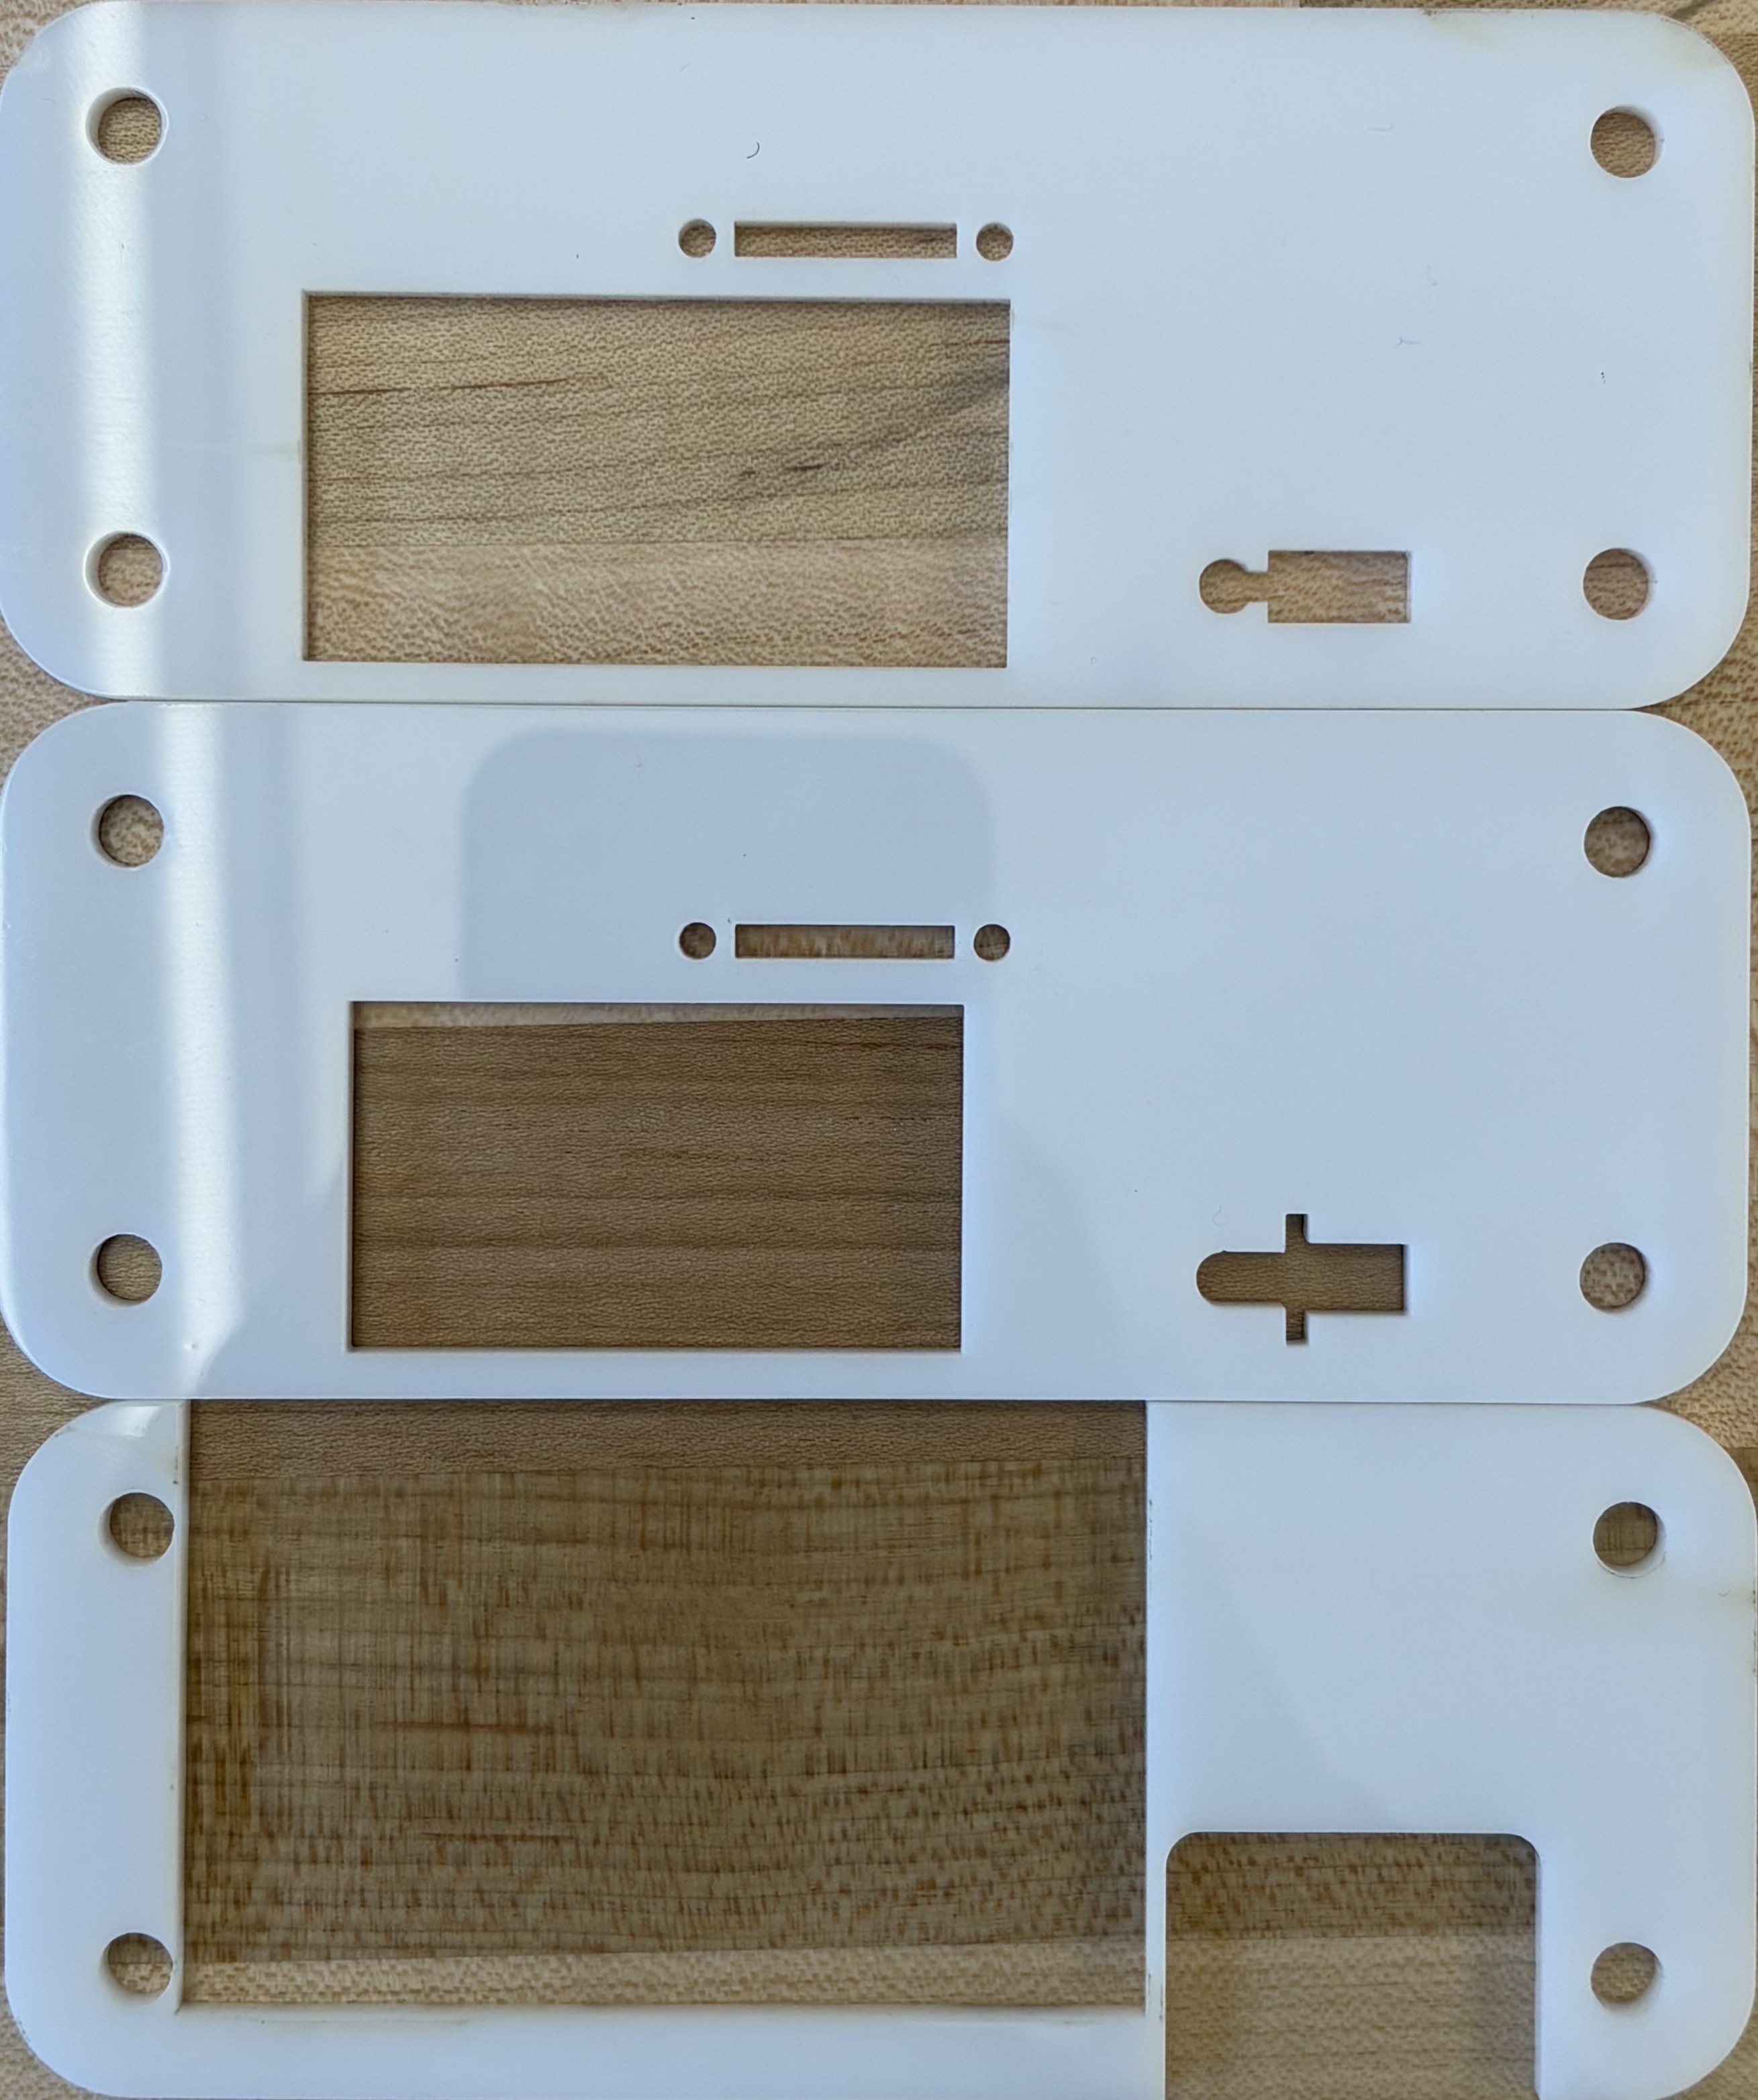
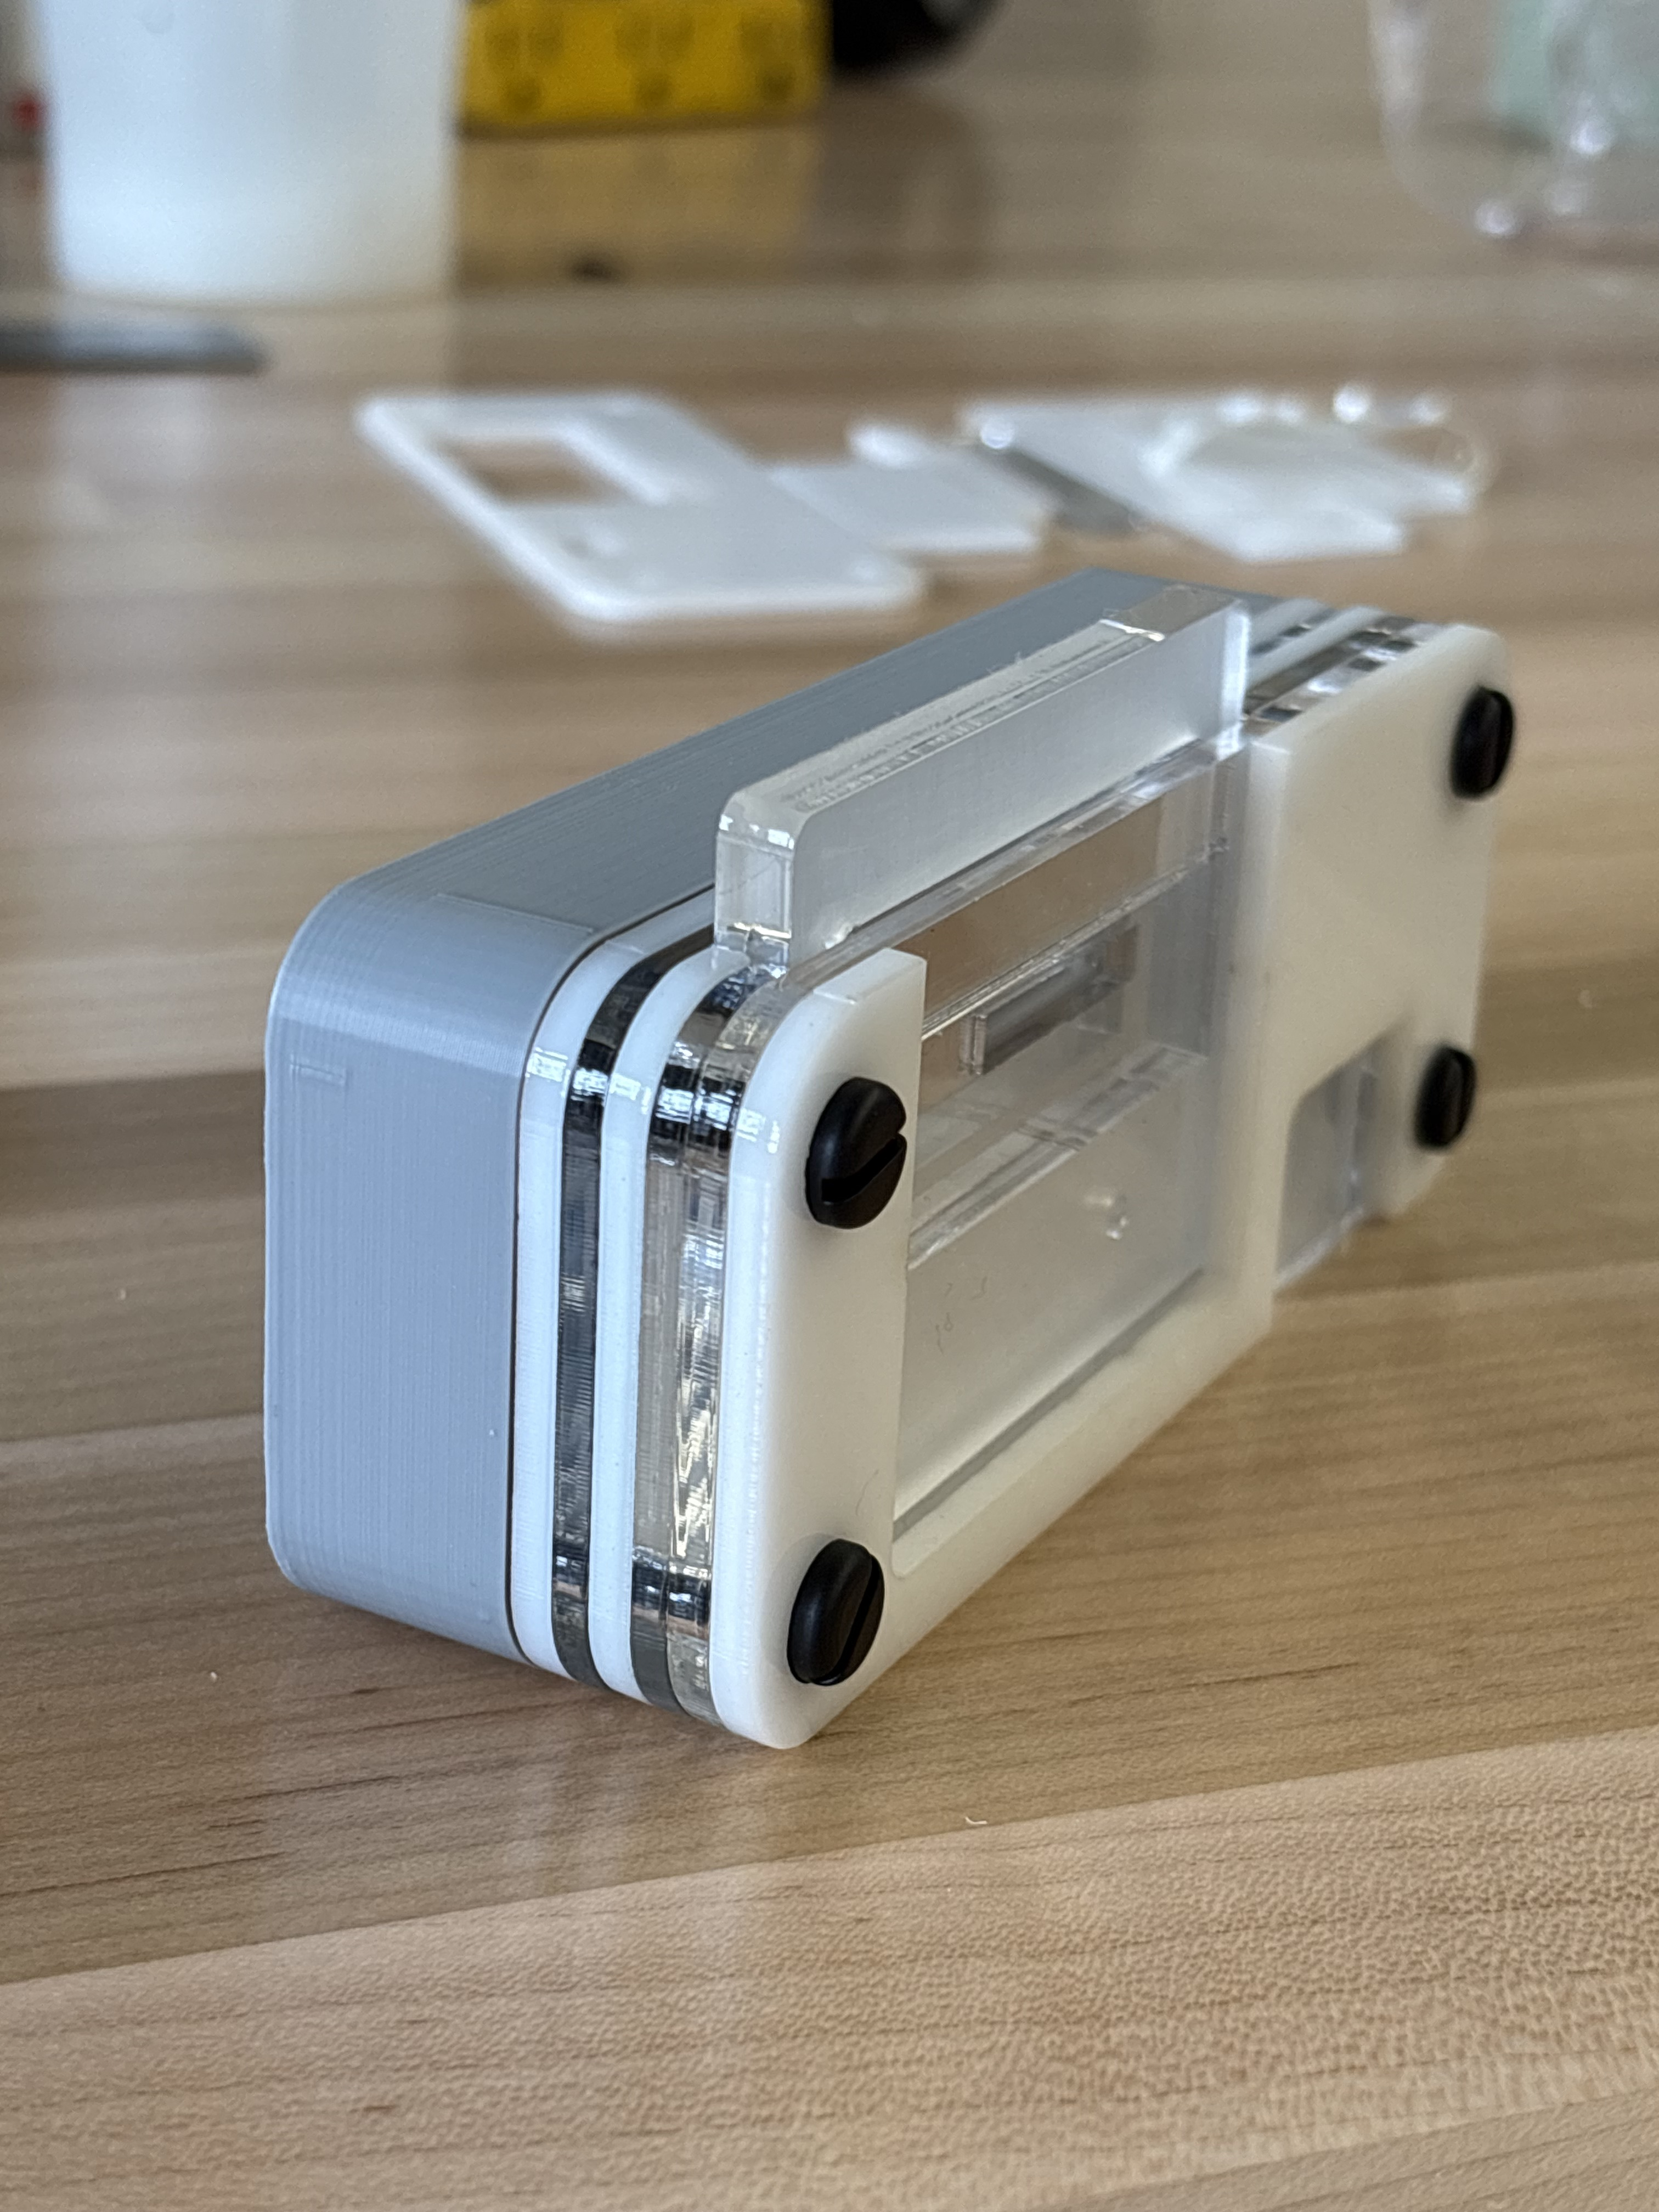
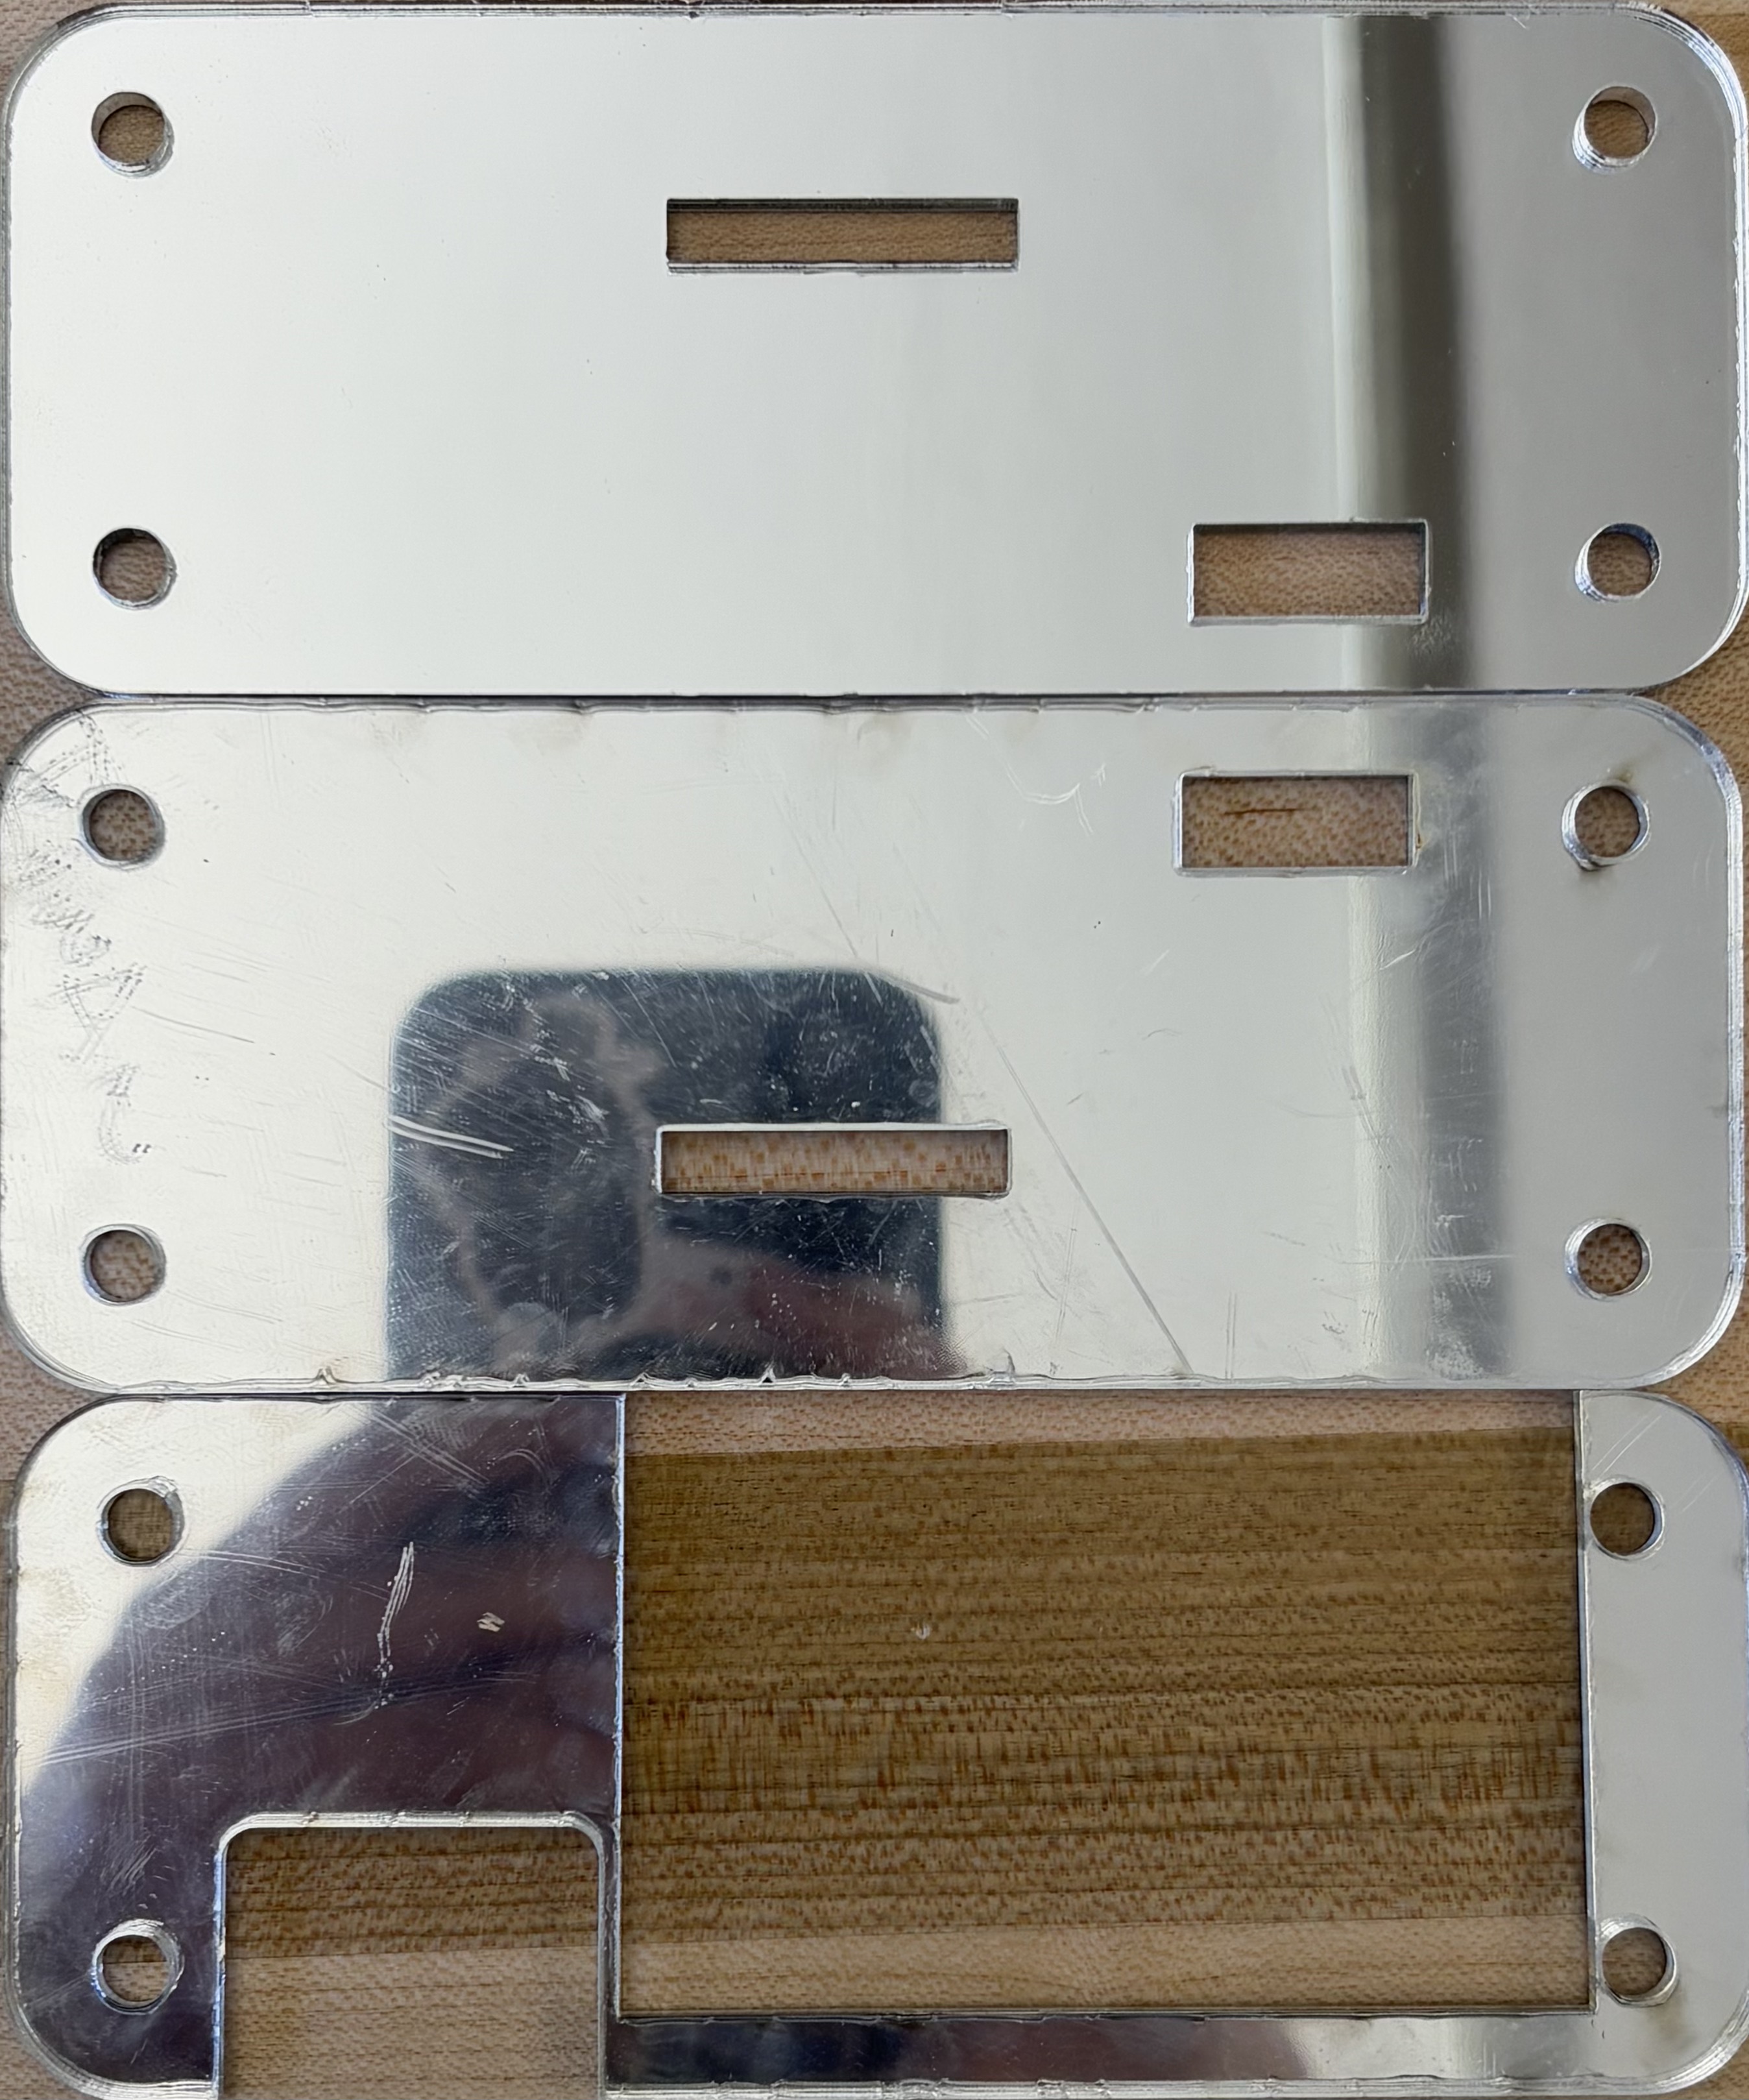
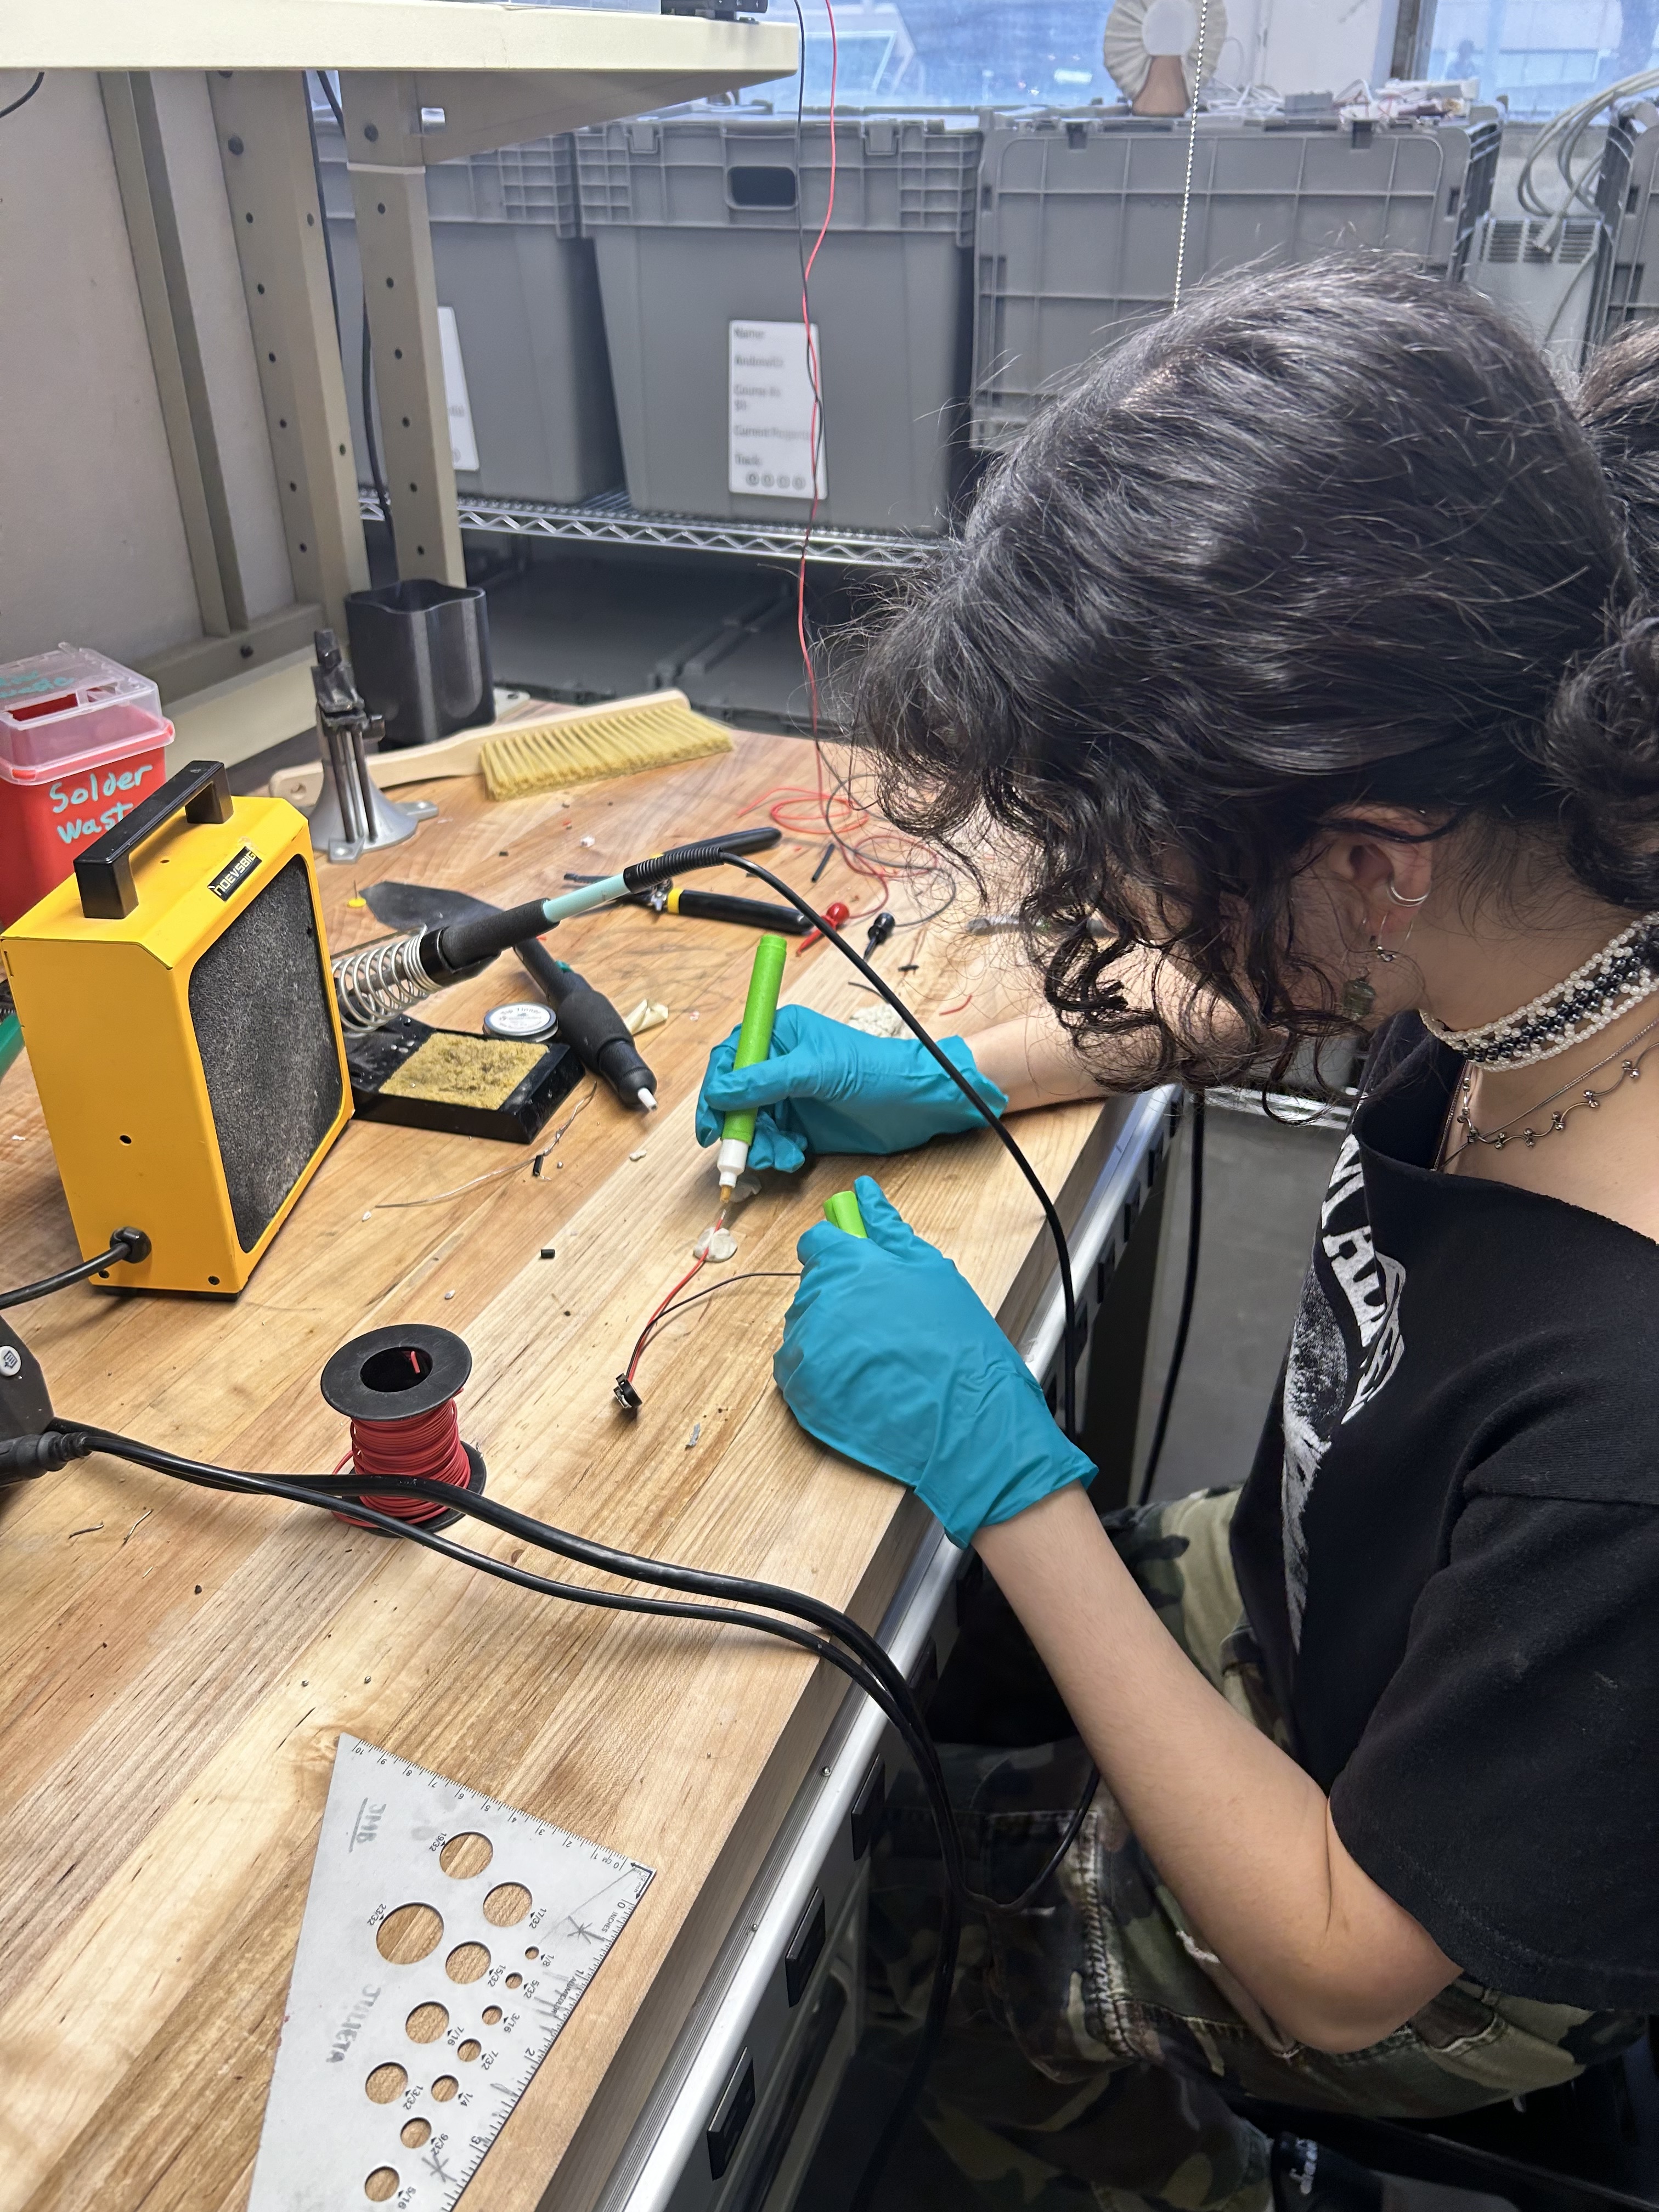
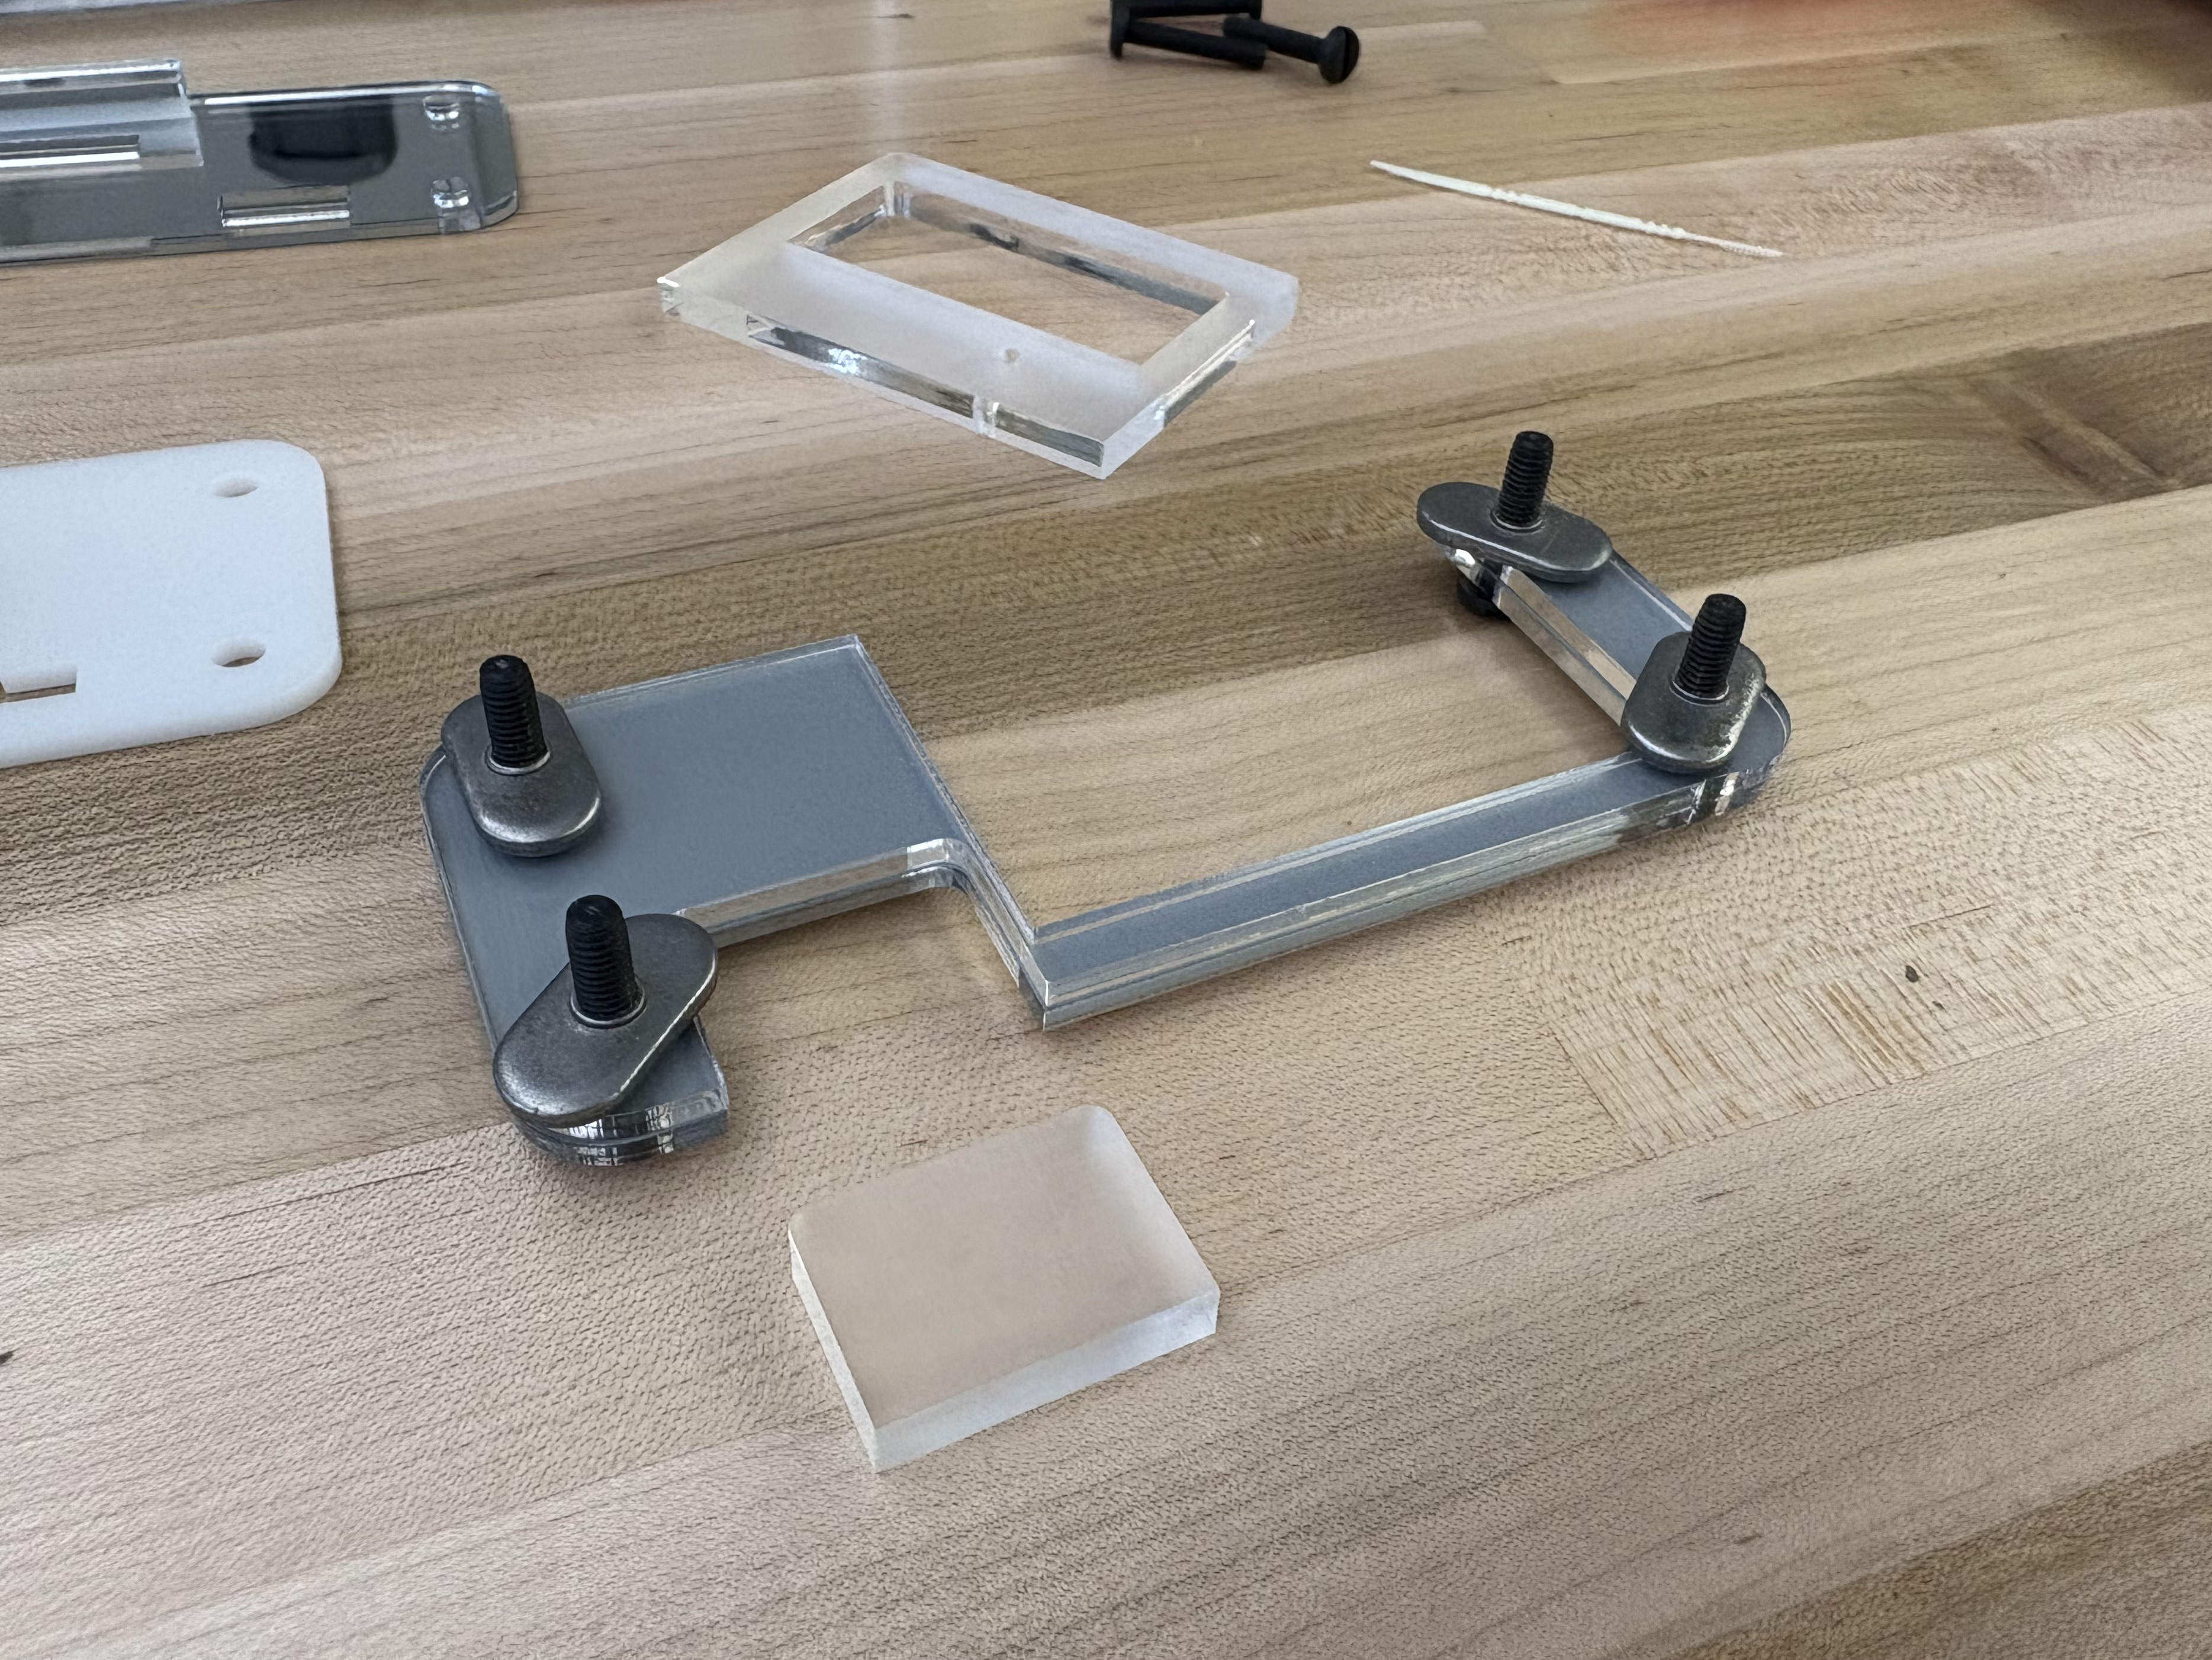
FABRICATION
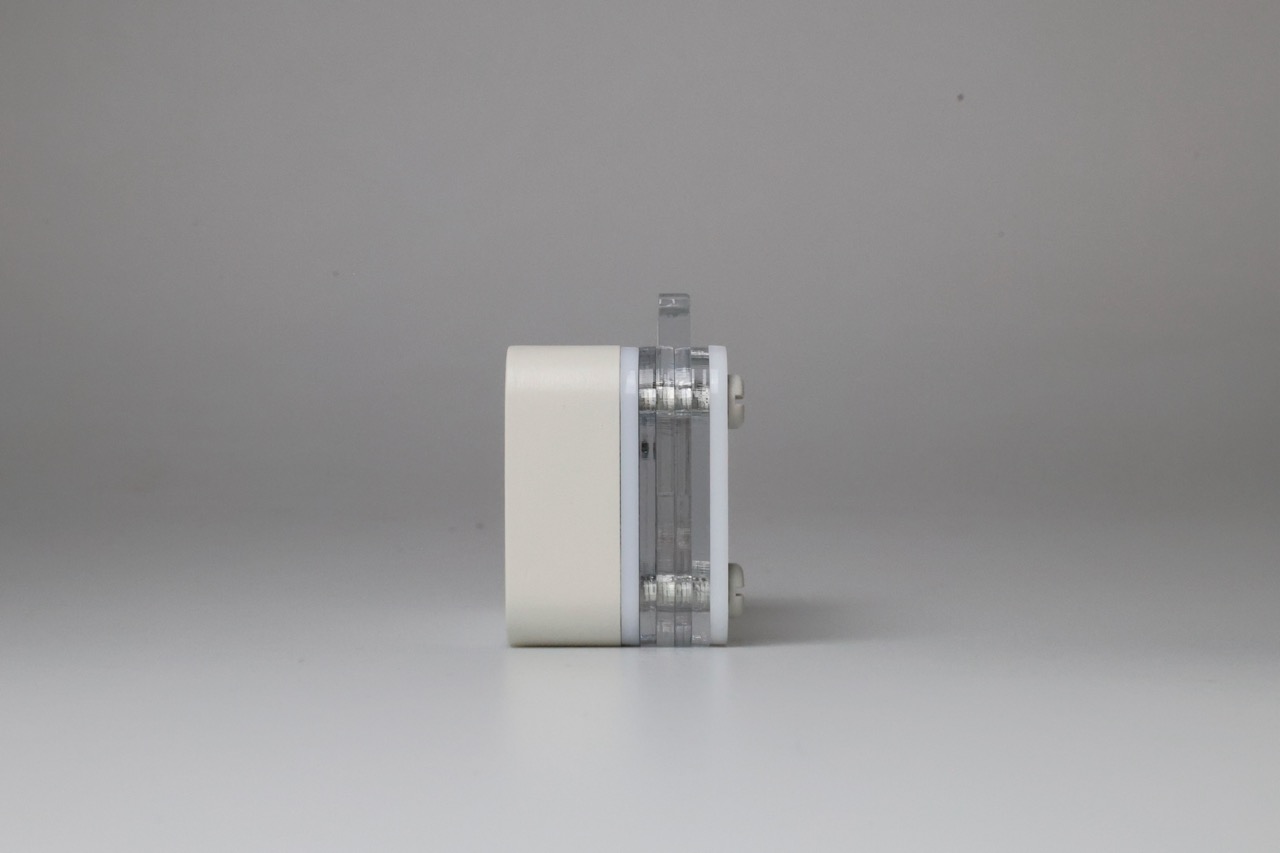
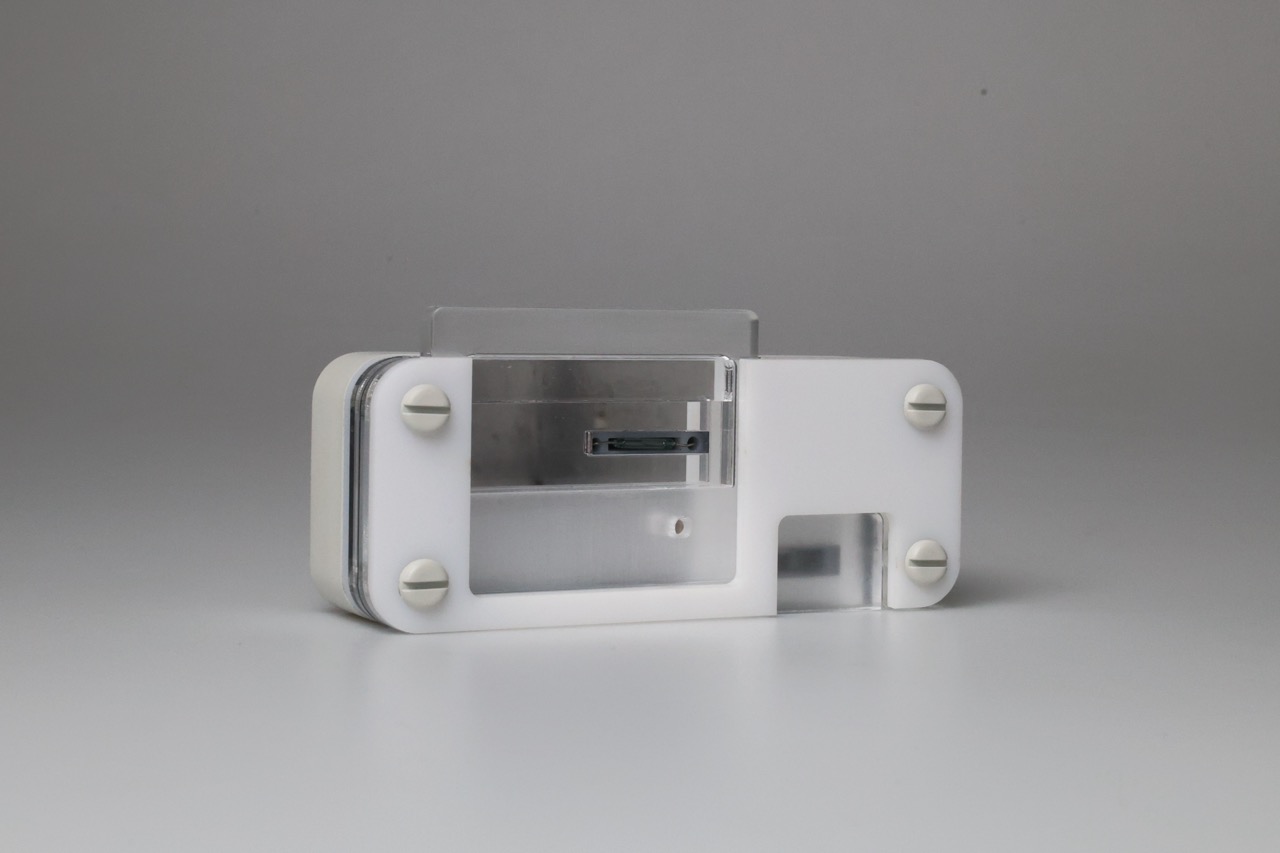
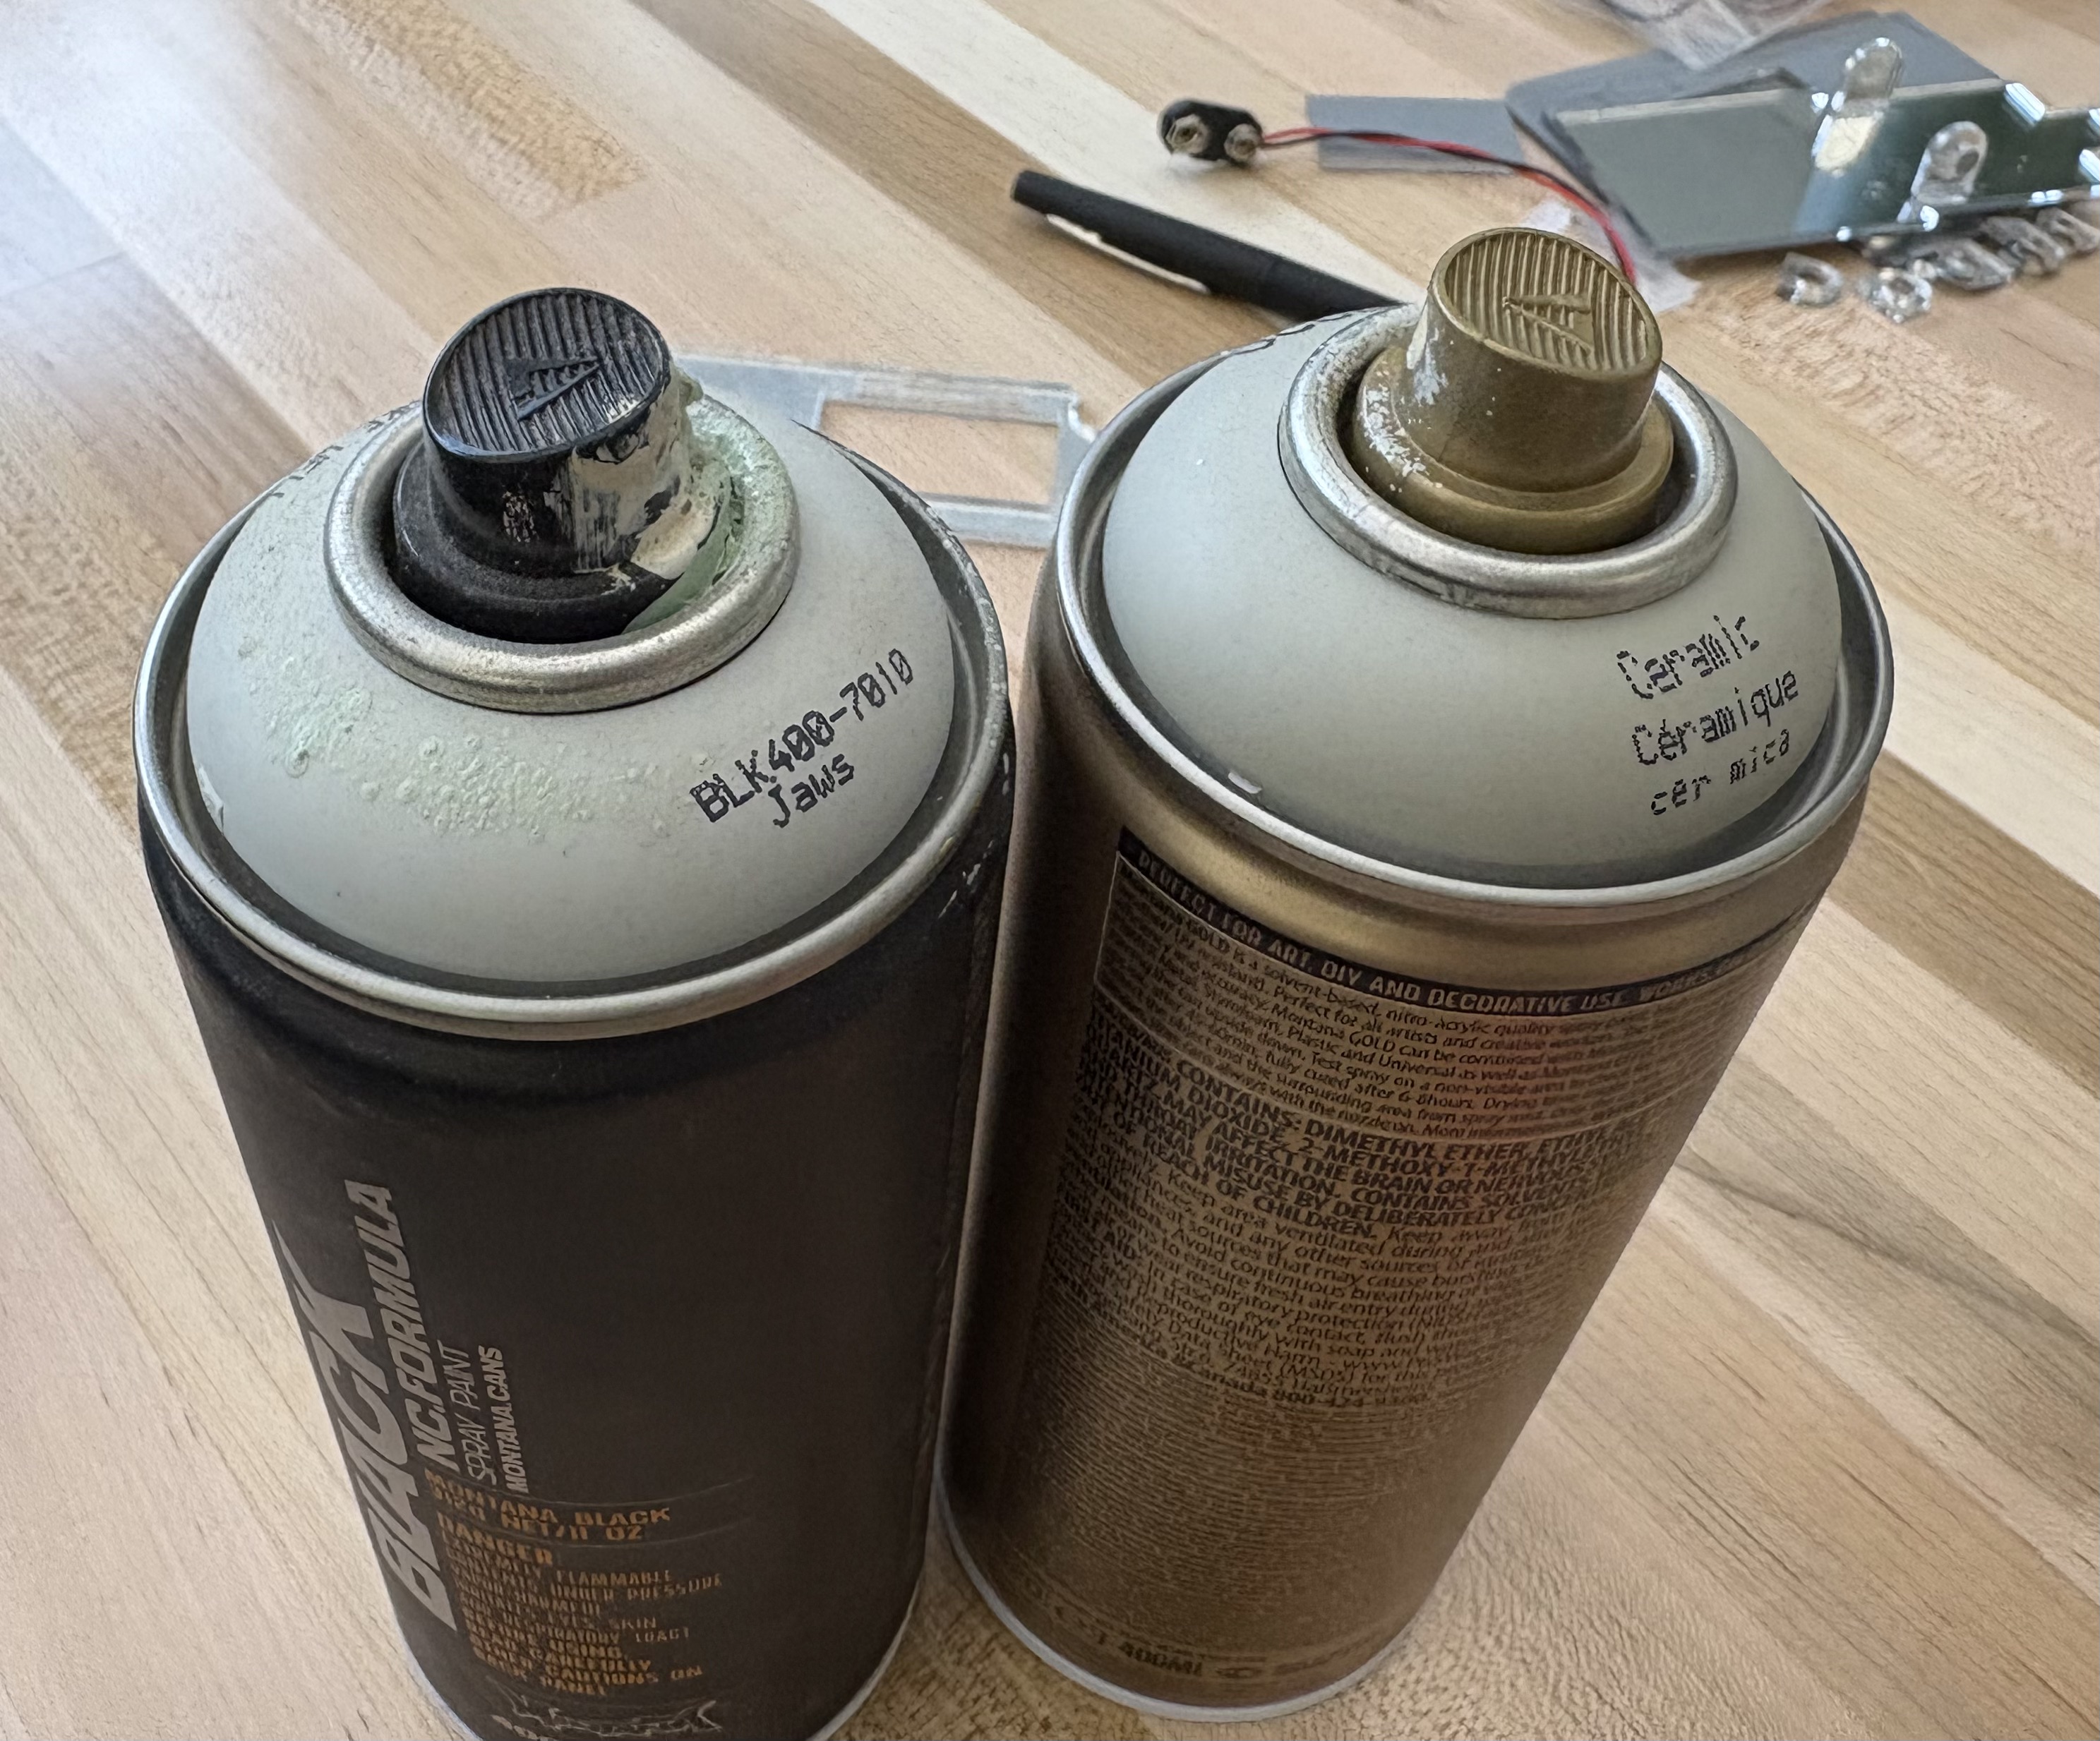
A total of six ⅛” layers of acrylic were used on top of the 3D printed base. Cuts were often re-evaluated for tighter fits for the circuitry, space for the handle to move smoothly, and an accurate reed switch and magnet overlapping connection. I soldered the circuit, housed in the base of the flashlight. Color choice was decided between two similar hues, one warm and the other cooler. The warmer color contrasted nicely with the white acrylic and LED light.

PRESENTATION BOARD